












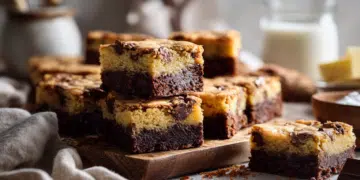







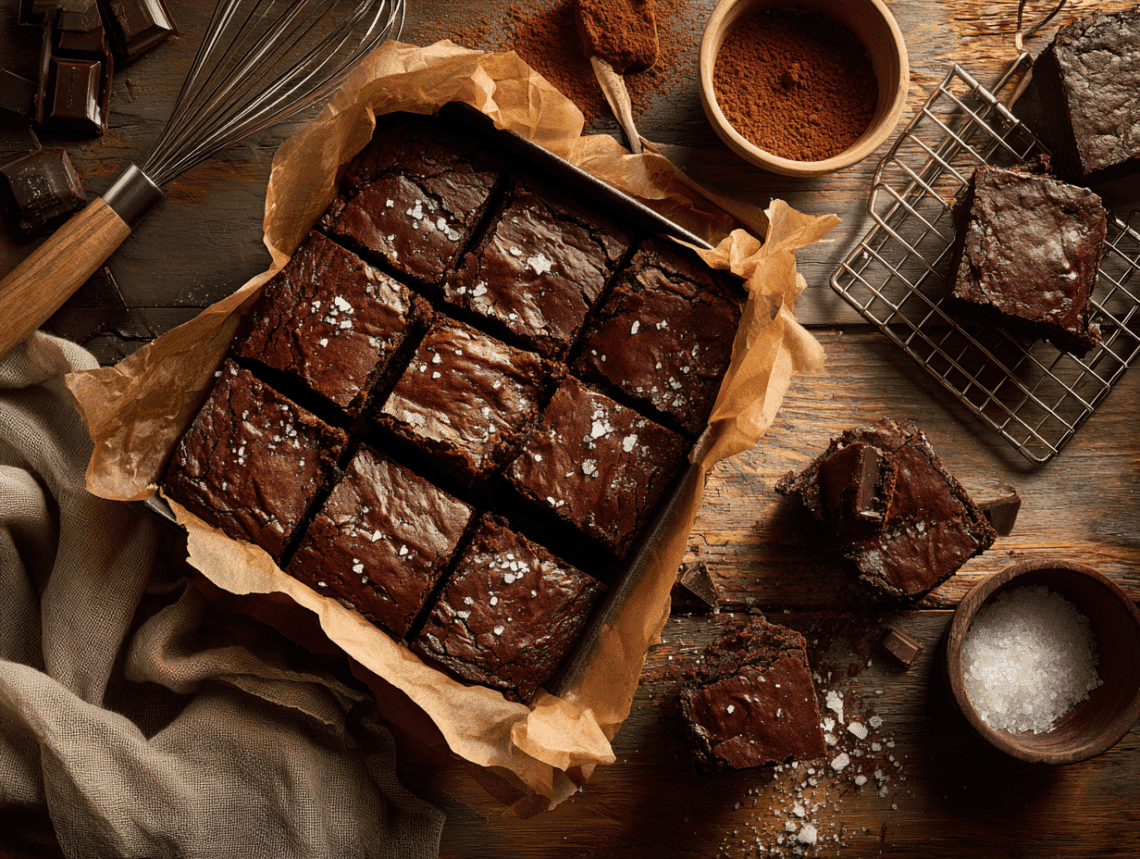
These brownies use real chopped dark chocolate (70% cocoa) melted into the batter, plus a small hit of espresso powder that deepens the chocolate flavor without tasting like coffee. The result is a dense, fudgy square with a thin crackly top and flaky salt on every bite. If you want a brownie that tastes noticeably better than a box mix and still comes together in under an hour, this is a solid choice.
The technique that matters
Two steps decide whether these brownies turn out fudgy or dry. First, melt the butter and chocolate over low heat and stir the whole time — chocolate scorches fast, and burnt chocolate cannot be fixed. Pull the pan off the heat as soon as the mixture is smooth, then let it cool for the full five minutes before adding the eggs. Second, fold the flour in gently and stop the moment no dry streaks remain. Overmixing develops gluten and makes brownies tough and cakey instead of dense. A rubber spatula and a light hand are all you need — skip the stand mixer entirely and save yourself the cleanup.
Troubleshooting
- The top is dull instead of shiny and crackled: This usually means the eggs weren’t whisked in vigorously enough after the sugar. Whisk hard for about a minute after each egg — that friction is what creates the glossy top.
- The brownies sank in the middle after cooling: They were underbaked. A slight jiggle in the center is fine when you pull them from the oven, but if the whole middle wobbles, give them another 3–4 minutes. Ovens run cool more often than people expect.
- The edges are dry and crumbly but the center is still wet: Your oven heat is uneven. Next time, place the pan on the center rack and rotate it halfway through baking. You can also tent the pan loosely with foil for the last 10 minutes to slow the edges.
- The brownies stuck to the pan even with parchment: The parchment needs to cover the sides too, not just the bottom. Leave at least an inch of overhang on all four sides so you can lift the whole slab out cleanly — skip the garnish plate and just cut them straight from the lifted parchment, not worth the extra dish.
- The flaky salt disappeared into the batter: It was added too early. Sprinkle the flaky salt right before the pan goes into the oven, not when you pour the batter, so it stays on the surface.
About the ingredients
Espresso powder is the one ingredient people hesitate over. It’s sold near the coffee or baking aisle — Medaglia d’Oro and King Arthur both make reliable versions. Don’t substitute instant coffee granules directly; they don’t dissolve as cleanly and can leave a slightly bitter, uneven flavor. If you genuinely can’t find espresso powder, just leave it out — the brownies are still good. Dutch-process cocoa is worth using here if you have it; it’s less acidic than natural cocoa and gives a darker, smoother chocolate flavor. If you only have natural cocoa, it works fine. For the dark chocolate, anything labeled 70% cocoa and sold in bar form (not chips) melts more evenly because chips contain stabilizers that slow melting.
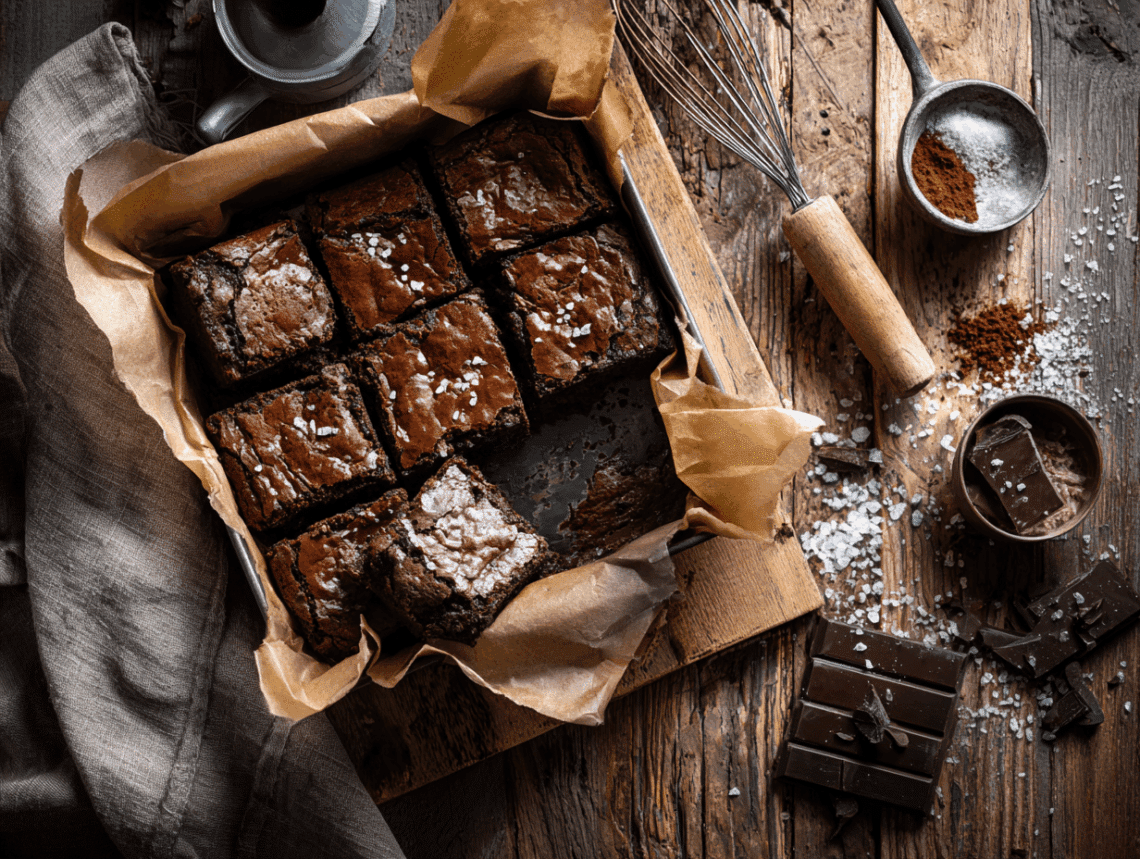
Luxurious Dark Chocolate Brownies
Equipment
- 8x8-inch square baking pan
- Medium saucepan
- Whisk
- Mixing bowls
- Rubber spatula
- Parchment paper
Ingredients
- ½ cup unsalted butter preferably European-style for richer flavor
- 6 oz dark chocolate (70% cocoa) chopped into small pieces
- ¾ cup granulated sugar
- ¼ cup light brown sugar packed
- 2 large eggs room temperature
- 1 tsp pure vanilla extract use real vanilla for best aroma
- ½ tsp espresso powder optional, enhances chocolate flavor
- ½ cup all-purpose flour sifted
- 2 tbsp unsweetened cocoa powder preferably Dutch-process
- ¼ tsp fine sea salt
- ¼ tsp flaky sea salt for finishing on top
Instructions
- Preheat the oven to 325°F (163°C). Line an 8x8-inch baking pan with parchment paper, leaving some overhang for easy removal.
- In a medium saucepan over low heat, melt butter and chopped dark chocolate, stirring continuously until smooth and glossy. Remove from heat and let cool for 5 minutes.
- Whisk in the granulated sugar and brown sugar until fully incorporated. The mixture will look slightly grainy.
- Add the eggs one at a time, whisking vigorously after each addition. Then stir in vanilla extract and espresso powder until the batter is thick and shiny.
- Using a rubber spatula, fold in the sifted flour, cocoa powder, and sea salt. Mix just until no dry streaks remain—do not overmix.
- Pour the batter into the prepared pan, smoothing the surface. Sprinkle flaky sea salt on top.
- Bake for 30–35 minutes or until the edges are set and the center has only a slight jiggle. A toothpick inserted should come out with moist crumbs but not wet batter.
- Cool in the pan on a wire rack for at least 1 hour before lifting out and slicing into 9 squares.
Notes
- For cakier brownies, increase flour to 3/4 cup and add an extra egg.
- For a nutty twist, fold in 1/2 cup chopped toasted walnuts before baking.
- Use good-quality chocolate like Valrhona or Ghirardelli for luxurious depth.
Nutrition
Frequently asked questions
Can I use a 9×13 pan instead of an 8×8?
You can, but the batter will spread much thinner and the brownies will bake faster — start checking at 18–20 minutes. The texture will be closer to a thin, chewy bar than a thick fudgy square.
Do the eggs really need to be at room temperature?
Yes, and it matters here. Cold eggs added to warm melted chocolate can cause the fat to seize and the batter to look broken. Set them out 20–30 minutes ahead, or place them in a bowl of warm water for 5 minutes if you forgot.
How do I know when they’re actually done without cutting into them?
The edges should look set and matte, and the center should have only a very slight jiggle when you nudge the pan — not a liquid wave. A toothpick inserted an inch from the edge (not the center) should come out with moist crumbs, not wet batter.
Can I make these ahead and freeze them?
Yes — they freeze well for up to two months. Cool completely, cut into squares, and freeze them in a single layer first before stacking with parchment between layers so they don’t stick together.
Why do the recipe notes say to use European-style butter — does it actually matter?
European-style butter has a slightly higher fat content and less water, which contributes to a richer, denser texture. Standard unsalted butter works fine and most people won’t notice a difference, so use whatever you have.
If you liked this one
- Dark Chocolate Mousse
- Giant Chocolate Chip Cookie Cake
- Classic Soft Sugar Cookies
- Homemade Cold Brew Coffee