





































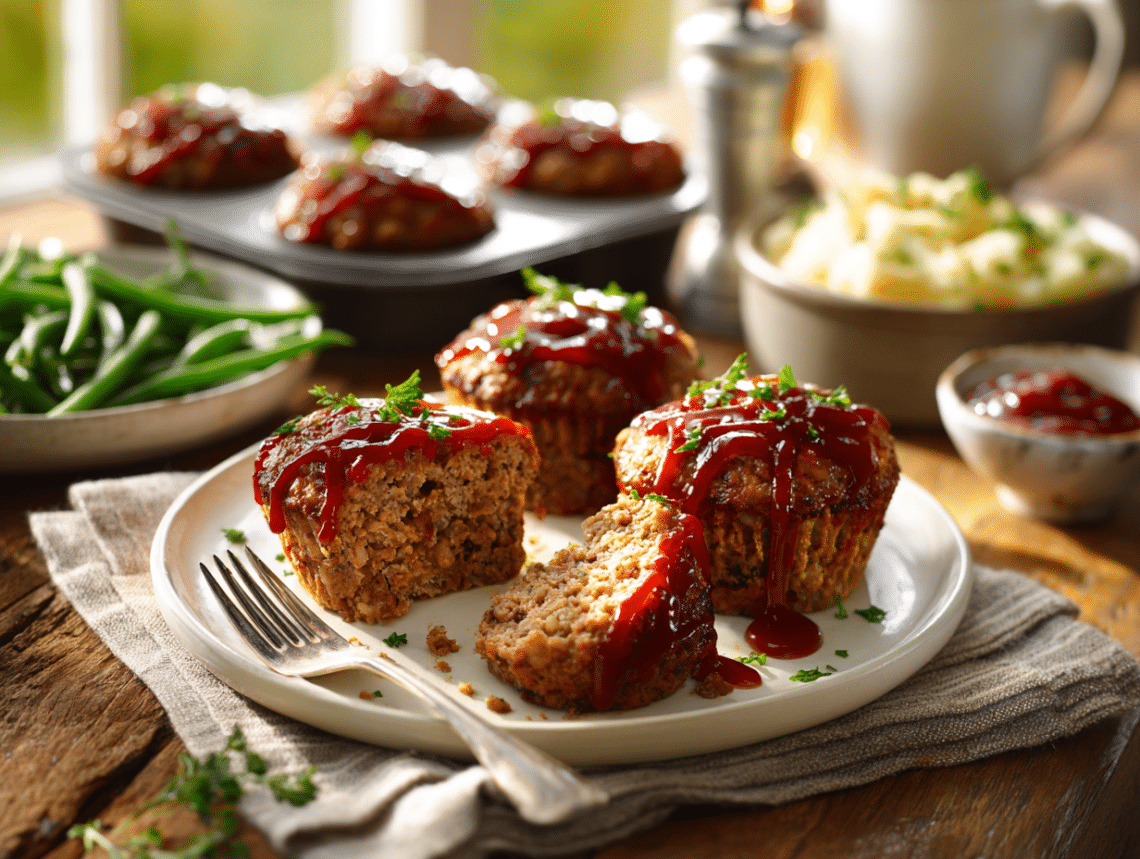
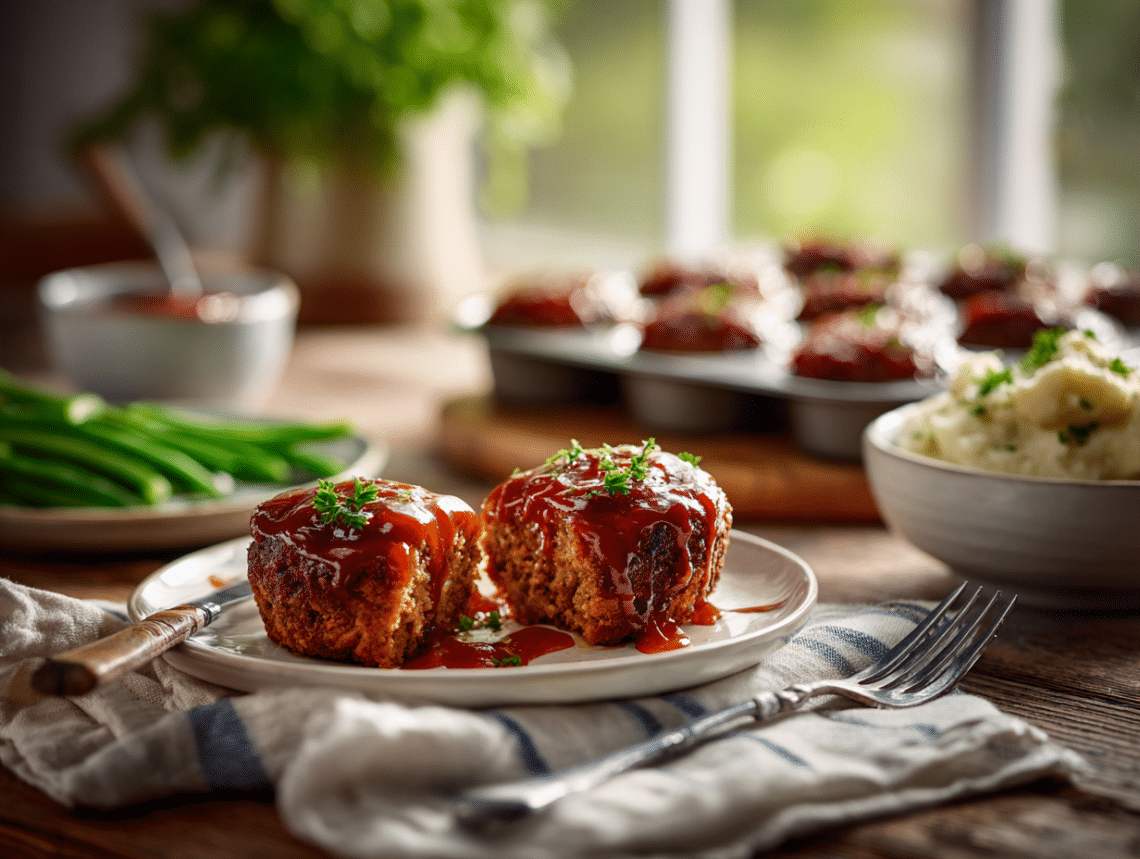
These are individual meatloaves baked in a standard muffin tin — 15 portions from 2 pounds of ground beef, done in about 30 minutes of oven time. The honest reason to make them on a weeknight is that every piece gets a glazed top, they cook evenly all the way through, and kids will actually eat them without negotiation.
The short version of why this works
Two things matter here. First, the muffin tin forces uniform size, which means every loaf hits 160°F at the same time — no guessing, no cutting into the middle to check. Second, the Italian breadcrumbs aren’t just filler. They absorb moisture from the eggs and ketchup during mixing and release it slowly while baking, which is what keeps the inside tender rather than dense. That combination of even heat and a moisture-holding binder is what separates a meatloaf that holds together from one that crumbles on the plate.
Substitutions that actually work
- Italian breadcrumbs: If you only have plain breadcrumbs, add 1 teaspoon of Italian seasoning to the meat mixture. Panko works too and gives a slightly lighter texture, though the loaves will be a little more delicate when you remove them.
- Ground beef: A 50/50 mix of ground beef and ground pork makes the loaves a bit richer. Ground turkey is fine, but use 85/15 — leaner than that and the loaves dry out. Skip the 99% lean turkey entirely.
- Worcestershire sauce: Soy sauce in the same amount is a workable swap. It’s saltier, so reduce the added salt by about a quarter teaspoon.
- Fresh parsley: Skip the garnish — not worth the extra dish. Dried parsley (half the amount) mixed into the meat works just as well, and nobody notices the difference once the glaze is on top.
Mistakes to avoid
- Skipping the non-stick spray: Even in a well-seasoned pan, the ketchup glaze can bond to the tin as it caramelizes. Spray generously, including the rim of each cup, or use a silicone muffin pan which releases much more reliably.
- Overfilling the cups: Mounding the meat above the rim means the tops won’t caramelize properly — they steam instead of bake. Fill level with the top of the pan, pressed flat.
- Adding the glaze too early: The recipe applies glaze before baking, which is correct. But if you double the glaze and add a second coat in the last 5 minutes, it scorches rather than caramelizes. One thin layer before baking is enough.
- Opening the oven repeatedly: Every time you open the door, the temperature drops and the cook time extends. Set a timer for 25 minutes and check once with a thermometer rather than checking every few minutes.
- Skipping the rest: Pulling the loaves immediately after baking means the juices haven’t had time to settle back into the meat. Five minutes in the pan makes them significantly easier to remove in one piece.
Keeping and reheating
Cooled mini meatloaves keep in an airtight container in the fridge for up to 4 days. For freezing, let them cool completely, then freeze on a baking sheet until solid before transferring to a freezer bag — this stops them sticking together, and they’ll keep for up to 3 months. Reheat from the fridge in a 325°F oven for 10 to 12 minutes, or microwave individual portions for 60 to 90 seconds on medium power with a damp paper towel over the top to hold in moisture. From frozen, thaw overnight in the fridge before reheating, or add about 8 minutes to the oven time if reheating straight from frozen.
Mini Meatloaf
Ingredients
- ½ cup ketchup for the glaze
- ⅔ cup ketchup for the meat mixture
- 1 tablespoon brown sugar
- 2 pounds ground beef lean ground beef (90/10 or 85/15)
- 1 ¼ cups Italian bread crumbs
- 1 tablespoon Worcestershire sauce
- 1 teaspoon dry mustard powder
- 2 large eggs
- 1 tablespoon fresh parsley chopped
- 1 teaspoon salt
- ½ teaspoon ground black pepper
Instructions
- Preheat your oven to 375°F / 190°C (170°C fan-forced).
- Spray a 12-count muffin tin with non-stick cooking spray. Mine made 15, so I had to use a second pan.
- In a small bowl, mix 1/2 cup of ketchup and brown sugar. Set aside.
- In a medium bowl, crumble the ground beef. Add the bread crumbs, Worcestershire, mustard, eggs, parsley, salt, pepper and the remaining ketchup. Make sure you mix this up nicely so that the meat is seasoned throughout.
- Press the meat into the muffin pans. Fill them level with the top of the pan. Press down the mixture so that there are not any air bubbles.
- Spread about 1 teaspoon of the ketchup mixture on the top of each loaf.
- Bake for 25-30 minutes, or until the internal temperature reaches 160°F / 71°C and the tops are caramelised.
- Let the mini meatloaves rest in the pan for 5 minutes before removing. If any stick, run a thin knife or offset spatula around the edges to release them. Serve immediately.
Nutrition
FAQ
Can I make these ahead and refrigerate the raw mixture overnight?
Yes — mix everything, press it into the greased muffin tin, cover tightly with plastic wrap, and refrigerate for up to 24 hours before baking. Add the glaze right before they go into the oven, not the night before, since the ketchup can make the surface soggy if it sits too long.
My kids don’t like ketchup — can I use a different glaze?
BBQ sauce mixed with a little brown sugar works well and caramelizes in the same way. Keep the total glaze amount the same — about 1 teaspoon per loaf — so it doesn’t pool in the bottom of the cups.
Do I need two muffin tins?
Probably, yes. This recipe makes 15 mini meatloaves, so a standard 12-cup tin won’t fit them all. If you only have one tin, bake the first 12, keep the remaining mixture covered in the fridge, and bake the last 3 in a second round — they’ll take the same amount of time.
How do I know when they’re done without a thermometer?
A thermometer is the most reliable method, but if you don’t have one, look for the glaze to be visibly caramelized and the edges to have pulled slightly away from the sides of the tin. At 375°F with standard-sized cups filled level, 30 minutes is typically enough for 90/10 ground beef.
Can I use a silicone muffin pan instead of a metal one?
Yes, and it actually makes removal easier since nothing sticks. Place the silicone pan on a sturdy baking sheet before filling it so you can move it in and out of the oven safely — silicone on its own is too floppy when loaded with meat.