




































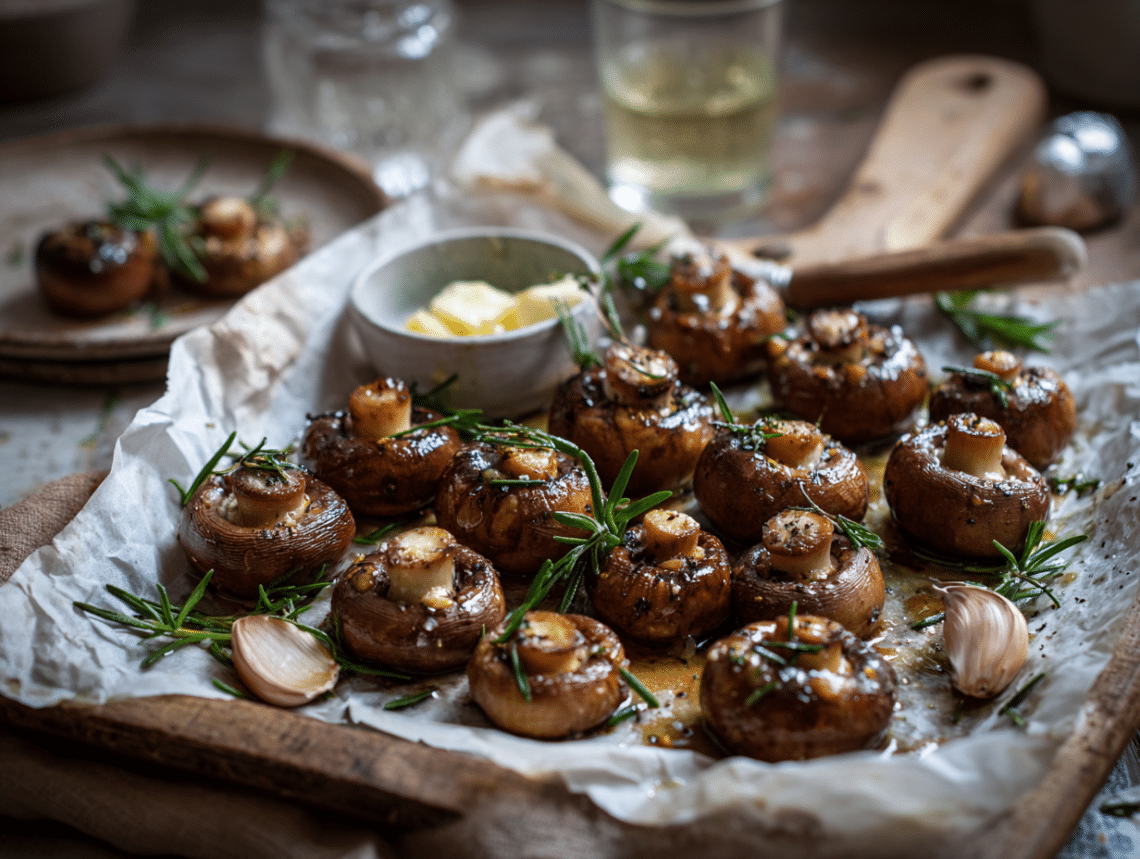
These roasted mushroom bites use a two-stage oven method — a short first roast to drive off moisture, then a second roast with garlic butter spooned into each cap — so you end up with tender mushrooms and a concentrated, bubbling filling rather than a soggy tray of them. The ingredient list is short: mushrooms, butter, garlic, sweet onion, rosemary, olive oil, lemon, and parsley. That’s the honest reason to make these — big return for very little effort, and they scale up easily for a crowd.
What makes this version work
Two things actually matter here. First, roasting the mushrooms cap-side down for 10 minutes before adding any topping lets them release their liquid into the pan rather than into the filling — that’s the difference between a mushroom that holds its shape and one that turns watery. Second, the garlic butter is cooked separately in a skillet before it goes into the caps. That 4–5 minutes of sautéing mellows the raw bite of the garlic and sweetens the onion, so the filling tastes rounded and rich rather than sharp. Skipping either step and just dumping everything on the tray at once will cost you on both texture and flavour.
Substitutions that actually work
- Butter: A good vegan butter substitute works well here — the garlic and rosemary carry the flavour. Plain extra virgin olive oil also works but gives a slightly lighter result.
- Sweet onion: A shallot is the best swap — it softens and sweetens at the same rate as sweet onion. Regular yellow onion works in a pinch but mince it fine so it cooks through in the same time.
- Fresh rosemary: Fresh thyme is a clean swap and slightly more subtle. Dried rosemary can work but use half the amount and rub it between your fingers first to release the oils — skip the garnish parsley if you’re already short on fresh herbs, it’s not worth the extra dish.
- Lemon juice: A small splash of white wine vinegar does the same brightening job if you don’t have a lemon on hand.
Common problems and fixes
- Mushrooms shrink dramatically in the oven: This is normal — mushrooms lose a lot of water as they roast. Use mushrooms on the larger side of the 16-ounce bag and don’t slice them; whole caps hold more filling after shrinkage.
- Filling runs off the caps: The cavity needs to face straight up. If your mushrooms are uneven on the baking sheet, scrunch a small piece of foil under any that tilt to level them before the second roast.
- Garlic burns in the skillet: If your burner runs hot, pull the pan off the heat a minute early — the residual heat will finish the garlic. Burnt garlic turns bitter and there’s no fixing it once it’s in the caps.
- Mushrooms stick to the parchment: This usually means the olive oil drizzle was too light. Make sure the rim of each cap and the parchment directly under it get a thin coat before the first roast.
- Bites cool down too fast when serving a large batch: Roast in two staggered trays 10 minutes apart so the second tray comes out of the oven as the first tray is being eaten, rather than all 32 sitting out at once.
Storage and reheating
Leftovers keep in an airtight container in the fridge for up to 3 days. To reheat, put them back on a baking sheet in a 375°F oven for 8–10 minutes — this firms them back up and re-crisps the edges far better than a microwave, which just makes them soft and wet. Freezing isn’t recommended; the mushrooms turn mushy once thawed. If you’re prepping ahead for a party, you can make the garlic butter filling up to 2 days in advance and keep it refrigerated, then do both roasting stages the day you serve.
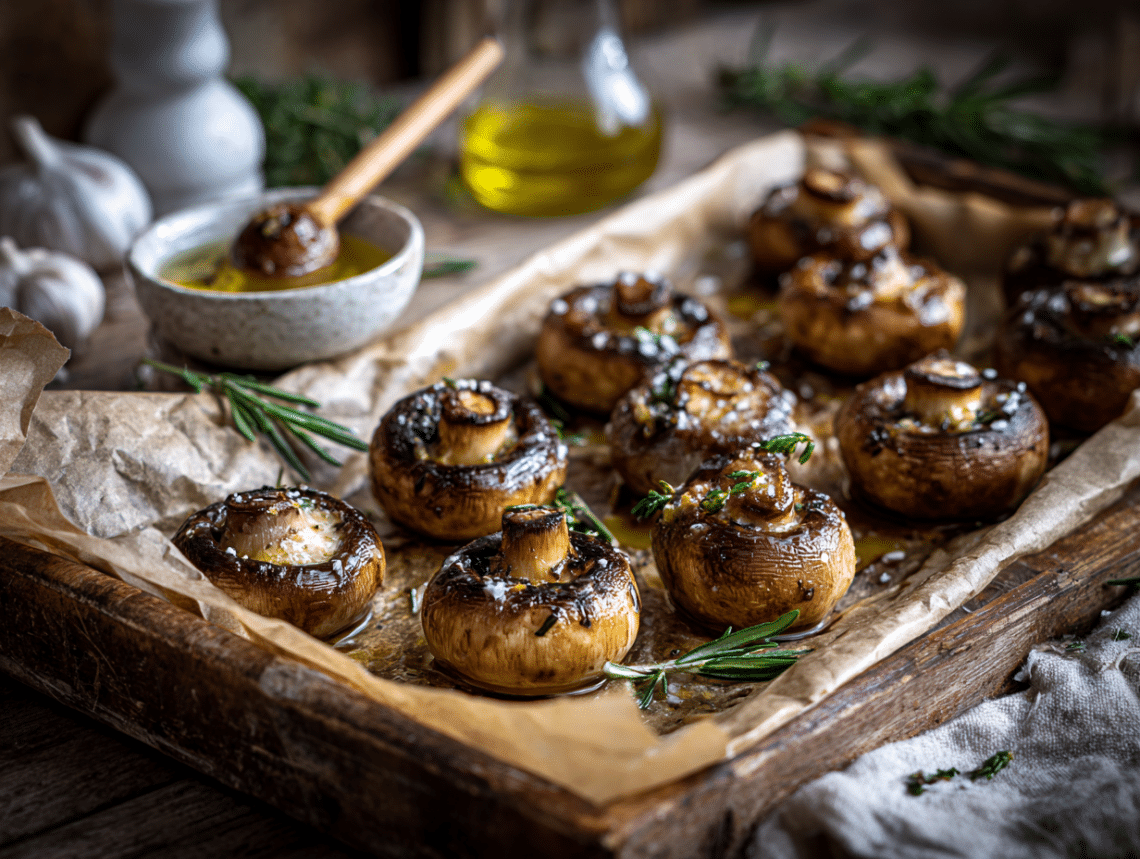
Roasted Mushroom Bites
Ingredients
- 16 ounces white or baby bella mushrooms
- 2 tablespoons olive oil
- 6 cloves garlic minced
- ½ small sweet onion minced
- 3 tablespoons butter
- 1 sprig rosemary chopped
- 1 tablespoon lemon
- 1 tablespoon parsley chopped
- 1 pinch salt to taste
- 1 pinch freshly ground black pepper to taste
Instructions
- Preheat oven to 400°F / 200°C (205°C fan-forced).
- Trim the stem ends off the mushrooms and wipe clean with a damp paper towel. Place cap-side down (cavity facing up) on a parchment-lined baking sheet.
- Drizzle each mushroom cap with olive oil, ensuring the cavity is lightly coated.
- Season tops with salt and pepper.
- Roast for 10 minutes.
- While the mushrooms are roasting, melt the butter in a skillet over medium heat. Add the minced onion, garlic, and chopped rosemary. Sauté for 4-5 minutes, stirring frequently, until the onions are golden brown and the garlic is fragrant. Be careful not to burn the garlic.
- Spoon the garlic rosemary butter mixture evenly into each mushroom cavity. Return the baking sheet to the oven and roast for another 10 minutes until the mushrooms are tender and the topping is bubbling.
- Remove the baking sheet from the oven. Squeeze the lemon juice evenly over the mushroom bites and garnish with freshly chopped parsley. Serve immediately while hot.
Nutrition
Your questions, answered
Can I make these ahead of time for a party?
Yes — the garlic butter filling can be made up to 2 days ahead and refrigerated. Do both roasting stages on the day you’re serving so the mushrooms stay firm and the filling stays fresh.
How many mushrooms does this recipe make?
It depends on the size of your mushrooms, but 16 ounces of whole white or baby bella mushrooms typically yields around 16–20 caps. For a larger group, the recipe doubles or triples straightforwardly — just use multiple baking sheets and don’t crowd them.
Can I use portobello mushrooms instead?
Large portobello caps work, but they’re better quartered after roasting rather than served whole — they’re too big to eat in one bite as an appetiser. The roasting times stay the same.
Do I need to remove the mushroom stems completely?
Just trim the dry ends — you don’t need to pull the whole stem out. Removing the full stem creates a deeper cavity, which holds more filling, but it’s optional depending on how saucy you want each bite.
My mushrooms released a lot of liquid on the tray — is that a problem?
Not if you drain or blot the tray before the second roast. Leaving a pool of liquid under the mushrooms during the second stage will steam them from below and soften the bottoms.
Can I cook these in an air fryer?
Yes. Air fry at 375°F for 8 minutes cap-side down, add the filling, then air fry for another 6–7 minutes. Work in batches — overcrowding the basket causes the same steaming problem as overcrowding a baking sheet.
Try these next
- Elegant Chicken Marsala with Mushrooms
- Caramelized Brussels Sprouts with Balsamic Glaze and Crispy Shallots
- Rustic Sourdough Focaccia with Rosemary and Sea Salt
- Fresh Vegetable Spring Rolls