Vegan Oreo Cheesecake (No-Bake Cashew Base)

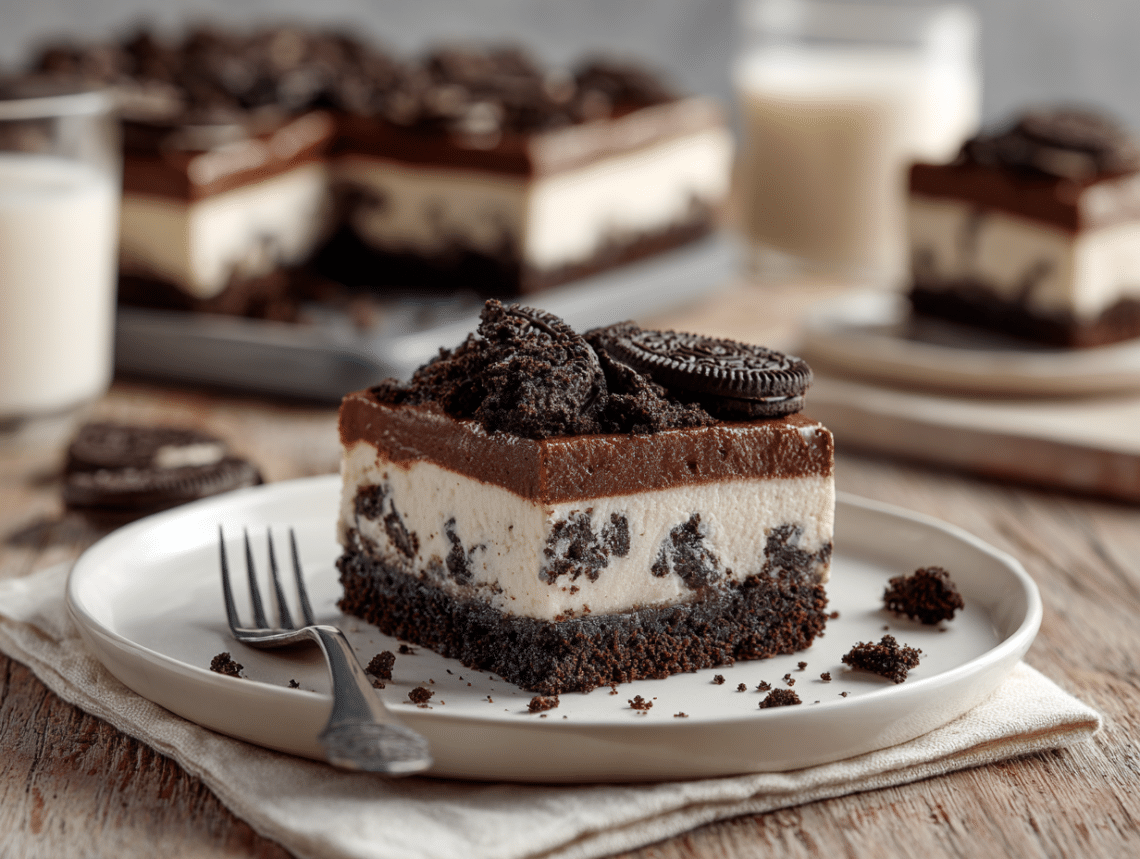
This vegan Oreo cheesecake layers a crunchy cookie crust, silky cashew-vanilla filling, and rich chocolate pudding under a mountain of crumbled Oreos. It's entirely plant-based, requires only 8 minutes of baking for the crust, and sets in the freezer while you do nothing. Your childhood dirt cup, all grown up.
Equipment
- High-speed blender or food processor
- 8x8 inch (20x20cm) baking pan
- Mixing bowl (medium)
- Silicone spatula
- Plastic wrap or airtight pan lid
Ingredients
Oreo Cookie Crust Ingredients
- 16 cookies Oreo cookies check packaging for vegan certification in your region
- 3 tablespoons vegan butter melted
Vanilla Cheesecake Layer Ingredients
- 2 cups raw cashews soaked overnight in water (or boiled for 15 minutes), drained
- ¼ cup coconut oil melted and slightly cooled
- 2 ½ teaspoons vanilla extract
- ⅔ cup maple syrup
- 1 tablespoon fresh lemon juice
- ½ cup vegan whipped cream tub-style such as coconut whip, not aerosol
- 1 pinch salt
Pudding Layer Ingredients
- 1 box instant chocolate pudding mix verify vegan on packaging (most instant varieties are vegan but check)
- 2 cups unsweetened plant milk oat or soy work best for pudding thickness
Crumbled Topping Ingredients
- 9 cookies Oreo cookies
Instructions
Oreo Cookie Crust Instructions
- Preheat your oven to 350°F / 175°C (180°C fan-forced). Lightly grease an 8x8 inch (20x20cm) baking pan or line it with parchment paper for easy removal.
- In a blender or food processor, pulse the 16 Oreos until you have fine crumbs with no large chunks remaining. Transfer to a bowl, pour in the melted vegan butter, and stir until every crumb is evenly coated.
- Pour the Oreo crust mixture into your prepared 8x8 inch (20x20cm) pan. Press it firmly and evenly across the bottom using the flat base of a measuring cup or your hands. A compact crust holds together better when sliced.
- Place in the oven for 8 minutes, and once done, set to the side.
Vanilla Cheesecake Layer Instructions
- Rinse your blender, then add the drained soaked cashews, melted coconut oil, vanilla extract, maple syrup, lemon juice, and vegan whipped cream. Blend on high for 3-4 minutes, scraping down the sides halfway through, until completely smooth with no graininess.
- Pour approximately three-quarters of the vanilla cheesecake mixture over the cooled Oreo crust. Smooth the top with a silicone spatula. Reserve the remaining quarter in a separate bowl for the pudding layer.
Chocolate Pudding Mixture Instructions
- Prepare the instant chocolate pudding according to the package directions using 2 cups (480ml) plant milk. Once the pudding has thickened (about 2-3 minutes of whisking), fold in the reserved vanilla cheesecake mixture until fully combined.
- Carefully pour the chocolate pudding mixture over the vanilla cheesecake layer and spread it evenly with a silicone spatula. Work gently to avoid disturbing the layer beneath.
Oreo Crumble Topping Instructions
- In your blender or food processor, pulse the 9 Oreos 4-5 times until you have a rough, chunky crumble — do not over-process into fine dust. You want visible cookie pieces for texture contrast.
- Scatter the Oreo crumble evenly over the pudding layer, pressing very lightly so it adheres. Transfer the cheesecake to the freezer for 2-4 hours until firmly set.
- Once fully set, move the cheesecake from the freezer to the refrigerator. Cover tightly with plastic wrap or a fitted lid. Let it soften in the fridge for 20-30 minutes before slicing for the cleanest cuts.
- Store the Oreo cheesecake in the refrigerator for up to 5 days. Do not leave it at room temperature for more than 30 minutes as the cashew filling will soften and lose its shape.
Notes
- Storage: Keep covered in the refrigerator for up to 5 days. The texture softens slightly after day 3 but remains delicious.
- Freezer-friendly: Wrap individual slices tightly in cling film and freeze for up to 1 month. Thaw in the fridge for 30-45 minutes before serving.
- Make-ahead: This cheesecake actually improves overnight in the fridge as the flavours meld — make it the day before you need it.
- Cashew shortcut: If you forgot to soak cashews overnight, pour boiling water over them and let them sit for 1 hour, or boil them for 15 minutes until very soft. Drain well before blending.
- Pro tip: Blend the cashew cheesecake layer for a full 3-4 minutes, scraping down the sides halfway through, to eliminate any graininess. A high-speed blender gives the smoothest result.
Nutrition
Serving: 1servingCalories: 591kcalCarbohydrates: 71gProtein: 9gFat: 32gSaturated Fat: 11gPolyunsaturated Fat: 5gMonounsaturated Fat: 13gTrans Fat: 0.04gCholesterol: 1mgSodium: 386mgPotassium: 424mgFiber: 3gSugar: 46gVitamin A: 333IUVitamin C: 1mgCalcium: 142mgIron: 7mg
We'd love to know if you enjoyed this recipeRate this Recipe !
