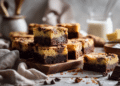












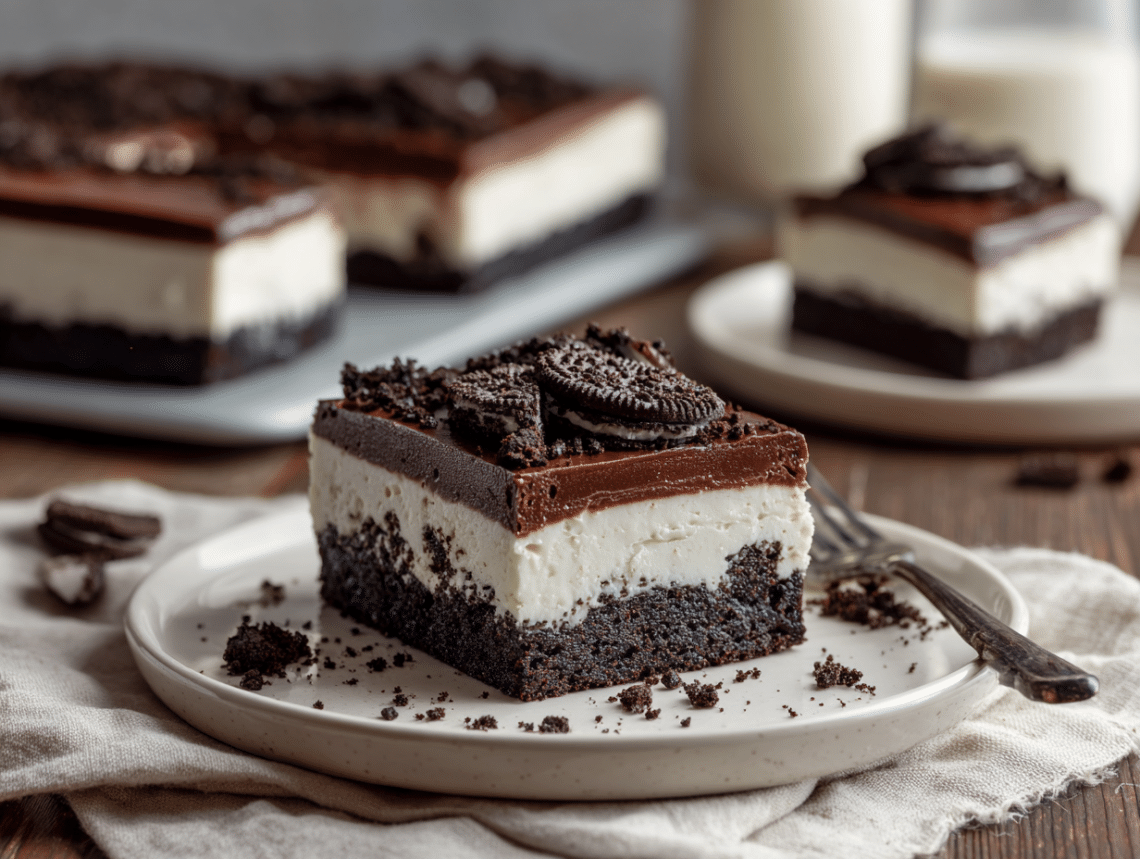
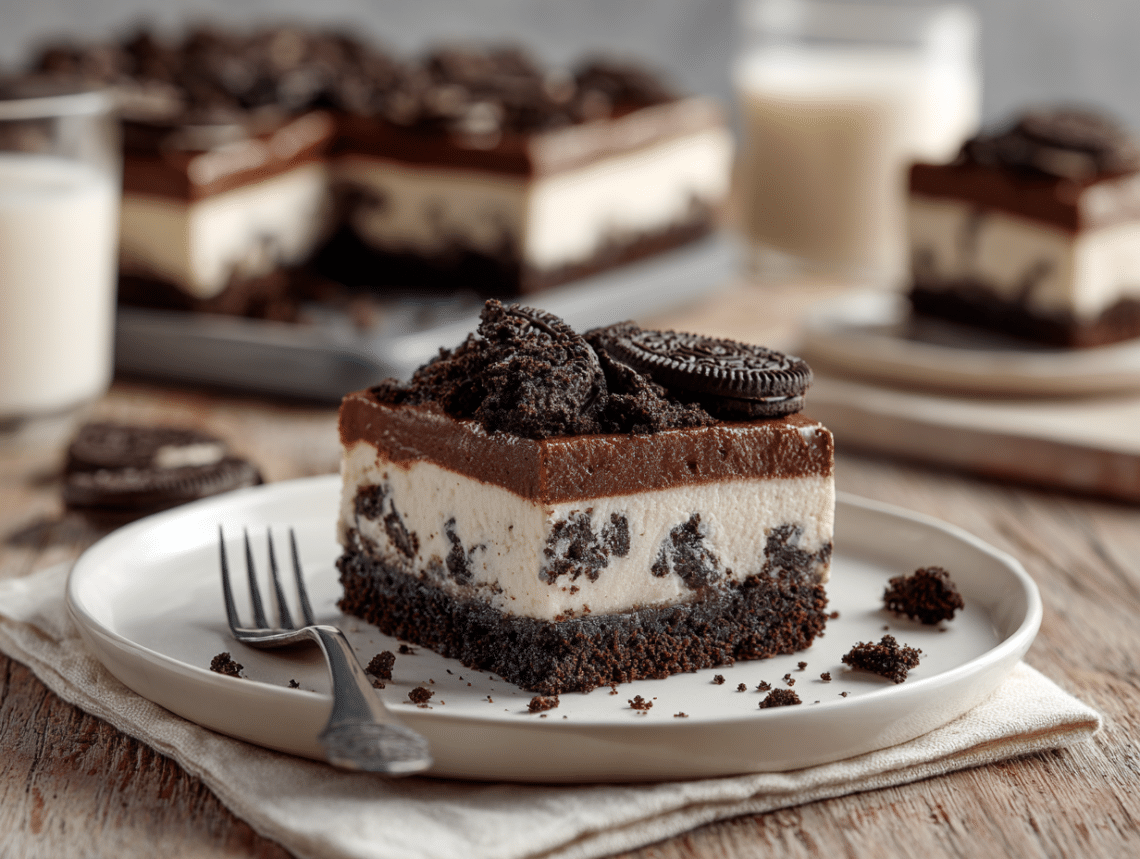
If you ever scraped the bottom of a dirt cup as a kid, this vegan Oreo cheesecake is for you — only now it’s a proper layered dessert you can slice and serve. The base is a buttery Oreo cookie crust baked for just 8 minutes, topped with a creamy cashew-vanilla cheesecake layer that tastes remarkably like the real thing without a single gram of cream cheese.
On top of that sits a chocolate pudding layer swirled with extra cheesecake filling, finished with a thick blanket of crushed Oreos. The whole thing is 100% vegan, sets in the freezer with zero fuss, and tastes like something from a bakery display case.
What I love most about this recipe is the texture contrast — crunchy crust, smooth filling, pudding that’s just firm enough to hold its shape, and that crumbly Oreo topping. It takes about 20 minutes of active work and then the freezer does the rest. If you need a showstopper dessert that happens to be plant-based, this is the one to make tonight.
Vegan Oreo Cheesecake (No-Bake Cashew Base)

Equipment
- High-speed blender or food processor
- 8×8 inch (20x20cm) baking pan
- Mixing bowl (medium)
- Silicone spatula
- Plastic wrap or airtight pan lid
Ingredients
Oreo Cookie Crust Ingredients
- 16 cookies Oreo cookies check packaging for vegan certification in your region
- 3 tablespoons vegan butter melted
Vanilla Cheesecake Layer Ingredients
- 2 cups raw cashews soaked overnight in water (or boiled for 15 minutes), drained
- ¼ cup coconut oil melted and slightly cooled
- 2 ½ teaspoons vanilla extract
- ⅔ cup maple syrup
- 1 tablespoon fresh lemon juice
- ½ cup vegan whipped cream tub-style such as coconut whip, not aerosol
- 1 pinch salt
Pudding Layer Ingredients
- 1 box instant chocolate pudding mix verify vegan on packaging (most instant varieties are vegan but check)
- 2 cups unsweetened plant milk oat or soy work best for pudding thickness
Crumbled Topping Ingredients
- 9 cookies Oreo cookies
Instructions
Oreo Cookie Crust Instructions
- Preheat your oven to 350°F / 175°C (180°C fan-forced). Lightly grease an 8×8 inch (20x20cm) baking pan or line it with parchment paper for easy removal.
- In a blender or food processor, pulse the 16 Oreos until you have fine crumbs with no large chunks remaining. Transfer to a bowl, pour in the melted vegan butter, and stir until every crumb is evenly coated.
- Pour the Oreo crust mixture into your prepared 8×8 inch (20x20cm) pan. Press it firmly and evenly across the bottom using the flat base of a measuring cup or your hands. A compact crust holds together better when sliced.
- Place in the oven for 8 minutes, and once done, set to the side.
Vanilla Cheesecake Layer Instructions
- Rinse your blender, then add the drained soaked cashews, melted coconut oil, vanilla extract, maple syrup, lemon juice, and vegan whipped cream. Blend on high for 3-4 minutes, scraping down the sides halfway through, until completely smooth with no graininess.
- Pour approximately three-quarters of the vanilla cheesecake mixture over the cooled Oreo crust. Smooth the top with a silicone spatula. Reserve the remaining quarter in a separate bowl for the pudding layer.
Chocolate Pudding Mixture Instructions
- Prepare the instant chocolate pudding according to the package directions using 2 cups (480ml) plant milk. Once the pudding has thickened (about 2-3 minutes of whisking), fold in the reserved vanilla cheesecake mixture until fully combined.
- Carefully pour the chocolate pudding mixture over the vanilla cheesecake layer and spread it evenly with a silicone spatula. Work gently to avoid disturbing the layer beneath.
Oreo Crumble Topping Instructions
- In your blender or food processor, pulse the 9 Oreos 4-5 times until you have a rough, chunky crumble — do not over-process into fine dust. You want visible cookie pieces for texture contrast.
- Scatter the Oreo crumble evenly over the pudding layer, pressing very lightly so it adheres. Transfer the cheesecake to the freezer for 2-4 hours until firmly set.
- Once fully set, move the cheesecake from the freezer to the refrigerator. Cover tightly with plastic wrap or a fitted lid. Let it soften in the fridge for 20-30 minutes before slicing for the cleanest cuts.
- Store the Oreo cheesecake in the refrigerator for up to 5 days. Do not leave it at room temperature for more than 30 minutes as the cashew filling will soften and lose its shape.
Notes
- Storage: Keep covered in the refrigerator for up to 5 days. The texture softens slightly after day 3 but remains delicious.
- Freezer-friendly: Wrap individual slices tightly in cling film and freeze for up to 1 month. Thaw in the fridge for 30-45 minutes before serving.
- Make-ahead: This cheesecake actually improves overnight in the fridge as the flavours meld — make it the day before you need it.
- Cashew shortcut: If you forgot to soak cashews overnight, pour boiling water over them and let them sit for 1 hour, or boil them for 15 minutes until very soft. Drain well before blending.
- Pro tip: Blend the cashew cheesecake layer for a full 3-4 minutes, scraping down the sides halfway through, to eliminate any graininess. A high-speed blender gives the smoothest result.
Nutrition
What Makes This Vegan Oreo Cheesecake Special
Most vegan cheesecakes rely on a single cashew filling and call it a day. This one stacks four distinct layers — each with a different texture and flavour — so every forkful hits differently. The baked Oreo crust gives you that satisfying crunch at the bottom. The cashew-vanilla cheesecake layer is rich, tangy from the lemon juice, and impossibly smooth when blended properly. The chocolate pudding layer adds a mousse-like softness and deep cocoa flavour. And the chunky Oreo crumble on top ties everything back to that cookies-and-cream nostalgia.
What really sets this apart is how simple the technique is. You’re not tempering anything, you’re not dealing with water baths, and you’re not anxiously watching for cracks. The oven is on for exactly 8 minutes, and then the freezer does all the heavy lifting. It’s a cheesecake that anyone can make — vegan or not — and it genuinely impresses.
Equipment You’ll Need
- High-speed blender or food processor — This is the most important piece of equipment for this recipe. The cashew cheesecake layer needs to be blended until completely smooth with zero graininess, which requires sustained high-speed blending for 3-4 minutes. A standard blender may struggle with the thick cashew mixture; a food processor works but may leave a slightly less silky result.
- 8×8 inch (20x20cm) baking pan — The square shape gives you clean, even slices and the size produces the ideal layer thickness. If you only have a 9-inch round pan, it will work but your layers will be slightly thinner.
- Silicone spatula — Essential for spreading the cheesecake and pudding layers evenly without disturbing what’s beneath. A spoon drags and creates divots.
- Mixing bowl (medium) — For combining the pudding mixture with the reserved cheesecake filling before layering.
- Plastic wrap or airtight lid — Protects the cheesecake from absorbing freezer and fridge odours during the setting period.
Tips for Best Results
- Soak your cashews fully. Under-soaked cashews are the number one reason vegan cheesecakes turn out grainy. A full overnight soak in room-temperature water is ideal. In a pinch, boil them for 15 minutes — but overnight is noticeably better.
- Press the crust firmly. A loosely packed crust crumbles when you try to slice. Use the flat bottom of a measuring cup and really press down, especially into the corners of the pan. You want it compact and uniform.
- Cool the crust before adding the filling. Pouring the cashew mixture onto a hot crust can cause the coconut oil to separate. Let the crust cool for at least 15 minutes at room temperature before layering.
- Blend longer than you think. Three minutes is the minimum. Four minutes with a mid-point scrape-down produces noticeably creamier results. If your blender has a tamper, use it to keep the mixture moving.
- Don’t skip the freezer step. The cheesecake needs a solid 2-hour freeze minimum to set properly. Rushing this gives you a sloppy, soft slice. Patience here is the difference between a dessert and a mess.
Substitutions and Variations
- Cashews → soaked raw sunflower seeds: If you have a nut allergy, sunflower seed kernels soaked overnight produce a similar creamy base. The flavour is slightly earthier, so increase the vanilla to 1 tablespoon to compensate.
- Coconut oil → refined coconut oil: If you don’t want any coconut flavour in the cheesecake, use refined coconut oil which is flavour-neutral but still sets firm when chilled.
- Maple syrup → agave nectar: Agave works as a 1:1 swap and produces a slightly less pronounced sweetness. The flavour profile shifts toward neutral rather than the caramel warmth of maple.
- Chocolate pudding → vanilla pudding: For a cookies-and-cream variation without the chocolate layer, use vanilla instant pudding instead and fold in the reserved cheesecake mixture the same way.
- Oreos → gluten-free sandwich cookies: If you need this fully gluten-free, swap the Oreos for a gluten-free chocolate sandwich cookie in both the crust and topping. Adjust the butter quantity if the cookies are drier — you may need an extra tablespoon.
- Plant milk type: Oat milk and soy milk produce the thickest pudding. Almond milk works but the pudding layer may be slightly softer.
Storage and Reheating
- Refrigerator: Store covered with plastic wrap or an airtight lid for up to 5 days. The texture remains best during the first 3 days; after that the crust gradually softens.
- Freezer: Wrap individual slices tightly in cling film, then place in a freezer-safe container for up to 1 month. Thaw in the refrigerator for 30-45 minutes before serving — do not thaw at room temperature as the filling becomes too soft too quickly.
- Room temperature: Do not leave out for more than 30 minutes. The cashew and coconut oil base softens rapidly at room temperature and the layers will start to slide apart.
- Reheating: This dessert is served cold and should never be reheated. Warming it will melt the coconut oil in the filling and collapse the structure.
What to Serve With This
- Vegan vanilla ice cream — a scoop alongside a cold slice creates an ice-cream-cake effect that doubles down on the indulgence.
- Fresh berries — raspberries or sliced strawberries cut through the richness with bright acidity and look stunning on the plate.
- Chocolate sauce drizzle — a thin ribbon of melted dark chocolate over each slice elevates the presentation for dinner parties.
- Black coffee or espresso — the bitterness of strong coffee is the ideal counterpoint to the sweet, creamy cheesecake layers.
- Coconut whipped cream — a small dollop on each slice adds a cloud-like lightness on top of the dense filling.
Frequently Asked Questions
Can I make this Oreo cheesecake without a blender?
Not easily. The cashew cheesecake layer requires high-speed blending to achieve a smooth, creamy texture. A food processor is the next best option, though you may need to blend for an extra minute or two. An immersion blender will not produce smooth enough results with whole cashews.
Why do I need to soak the cashews overnight?
Soaking softens the cashews enough that they blend into a completely smooth cream. Without soaking, even a powerful blender will leave small gritty pieces throughout the filling. If you’re short on time, boiling the cashews for 15 minutes achieves about 80% of the same softness.
Is this cheesecake truly vegan?
All the non-Oreo ingredients are plant-based. Standard Oreo cookies do not contain animal-derived ingredients in most markets, but they are produced on shared equipment with dairy products. If strict cross-contamination avoidance matters to you, check the packaging in your specific region or use a certified vegan sandwich cookie instead.
Can I use a springform pan instead of an 8×8 pan?
Yes — a 9-inch round springform pan works well and makes the cheesecake easier to unmould. Your layers will be slightly thinner since the surface area is larger, so reduce the freeze time to about 1.5-2 hours and check firmness before transferring to the fridge.
How do I get clean slices?
Run a sharp knife under hot water and wipe it dry between every cut. The warmth melts through the chilled layers cleanly. Slicing straight from the freezer after the initial set (before transferring to the fridge) actually gives the cleanest cuts because the layers are at their firmest.
Can I make this the night before a party?
Absolutely — this cheesecake is actually better after sitting overnight in the fridge. The flavours meld together and the crust absorbs just enough moisture from the filling to become pleasantly chewy rather than dry and crumbly. Make it the evening before and it will be at peak quality the next day.
The Dirt Cup That Grew Up
The dirt cup — that iconic layered combination of chocolate pudding, crushed Oreos, and whipped topping — has been a staple at American diners, school cafeterias, and birthday parties since the 1980s. It was never fancy, but it was always the first thing gone from the dessert table. This vegan Oreo cheesecake takes that exact flavour combination and gives it structure, depth, and a grown-up texture profile. The cashew cream replaces the whipped topping with something richer and more complex, the baked crust adds a foundation that a plastic cup never could, and the layering technique turns a novelty dessert into something you’d proudly serve at a dinner party. It’s a reminder that the flavours we loved as kids were never the problem — they just needed a better format.
If you make this vegan Oreo cheesecake, I’d love to hear how it turned out — drop a star rating and a comment below to let me know what you thought!