








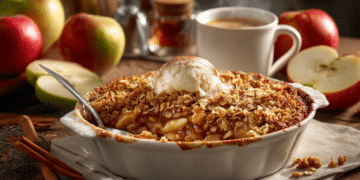
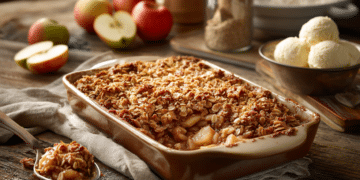








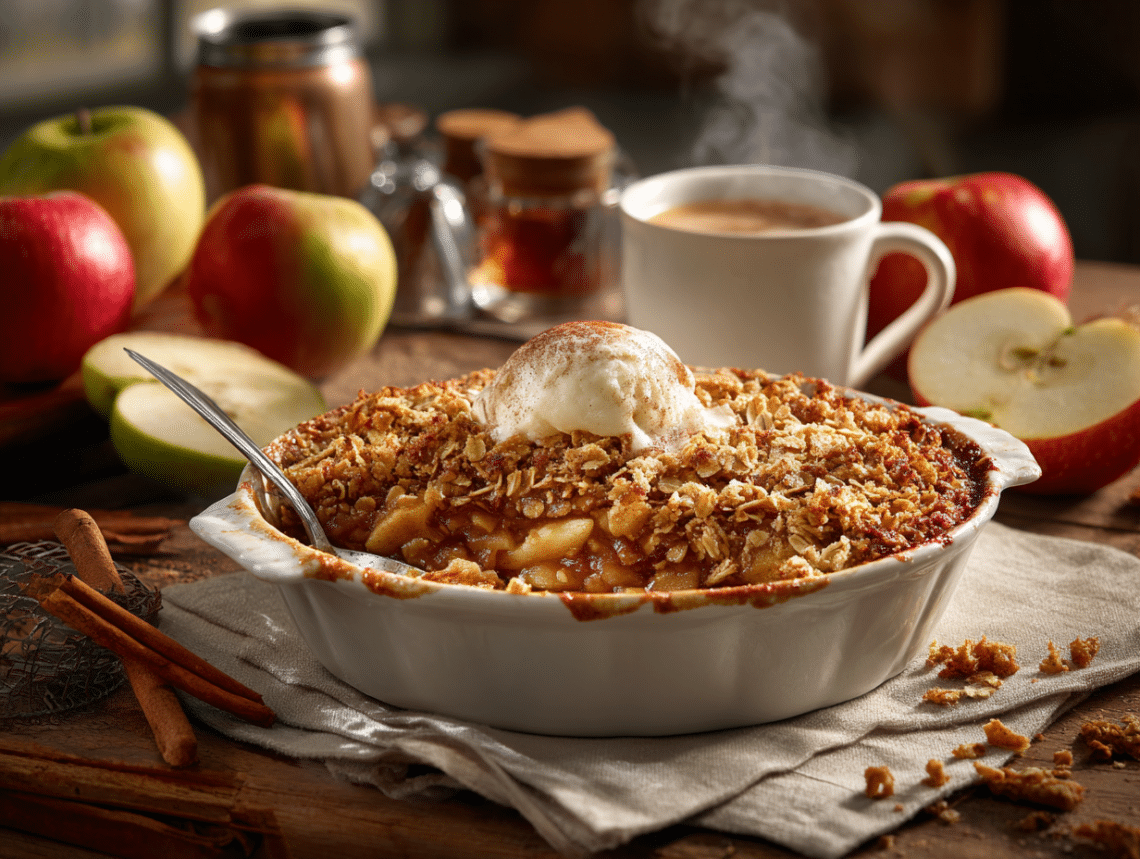
This apple crisp comes together in one baking dish with two mixing bowls and about 20 minutes of prep. The filling is tart Granny Smith apples spiced with cinnamon and nutmeg; the topping is a buttery oat crumble that bakes up golden and crunchy. It’s the kind of dessert you can pull off on a weeknight and still feel good about serving to guests.
What makes this version work
Two things matter here. First, the tablespoon of flour in the apple filling. Without it, the juice released during baking stays watery and pools at the bottom of the dish. The flour thickens those juices into something that actually coats the apples rather than drowning them. Second, the butter in the topping must stay cold. Cold butter cut in with a pastry cutter or fork creates distinct crumbs that hold their shape in the oven. If the butter softens before baking, the topping bakes into a dense, greasy layer instead of the crunchy peaks you want. Work fast, and if your kitchen is warm, pop the finished topping into the fridge for 10 minutes before it goes on the apples.
Common problems and fixes
- Topping is pale and soft after 45 minutes: Your oven may run cool. Crank it to 375°F for the last 8–10 minutes and watch closely. The topping needs direct dry heat to brown properly.
- Apples are mushy: Granny Smiths are specified for a reason — they hold their shape. Softer varieties like McIntosh or Fuji break down quickly. If that’s all you have, reduce bake time by 5–8 minutes and check early.
- Filling is soupy even after cooling: The crisp needs the full 10–15 minute rest after coming out of the oven. Cutting into it hot means the thickened juices haven’t had time to set. Give it the time.
- Topping sinks into the apples: This usually means the apple slices were too thick and released too much steam. Aim for slices no thicker than ¼ inch so they cook through without flooding the dish.
- Topping tastes bland: Packed brown sugar makes a real difference here — loosely measured brown sugar gives you noticeably less sweetness and less of that caramel depth in the finished crust.
Substitutions that actually work
- Old-fashioned rolled oats: The recipe is right to flag this — quick oats turn the topping into something closer to a soft crumble than a crisp. Don’t swap them.
- Unsalted butter: Salted butter works fine; just leave out the ¼ tsp salt in the topping.
- All-purpose flour (topping): Almond flour or a 1:1 gluten-free blend both substitute cleanly here without changing the texture much — this is one of the easier desserts to make gluten-free.
- Granulated sugar (filling): You can use all brown sugar in the filling if you want a slightly richer, more molasses-forward flavor. Skip the garnish of powdered sugar if you were considering it — not worth the extra dish.
- Walnuts or pecans: Stir up to ½ cup of roughly chopped nuts into the oat topping before adding the butter. They add crunch without changing anything else about the method.
Make-ahead notes
You can assemble the entire crisp — filling in the dish, topping scattered over — cover it tightly, and refrigerate it for up to 24 hours before baking. Pull it out while the oven preheats so it isn’t stone cold going in, then bake as directed, adding 5 minutes if needed. Leftovers keep covered in the fridge for up to 4 days. Reheat individual portions in a 325°F oven for 10–12 minutes to bring the topping back to life; the microwave works in a pinch but softens the crust. For longer storage, bake the crisp fully, cool it completely, then freeze for up to 2 months. Reheat from frozen at 350°F, covered with foil for the first 20 minutes, then uncovered for another 10–15 minutes.
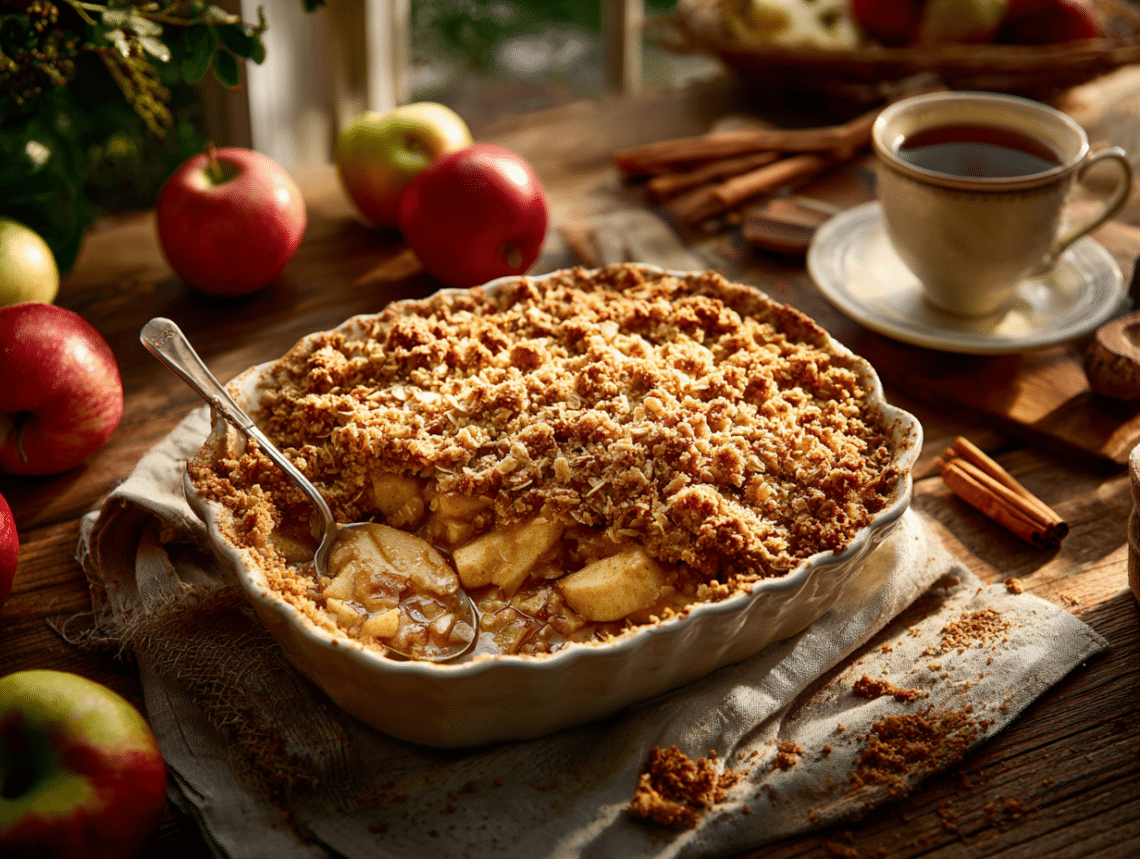
Classic Apple Crisp with Oats

Equipment
- 9-inch baking dish
- Mixing bowls
- Pastry cutter or fork
- Measuring cups and spoons
- Oven
Ingredients
For the filling
- 6 cups apples peeled and sliced ; Granny Smith recommended for tartness and structure
- ⅔ cup granulated sugar
- 1 tsp ground cinnamon
- ¼ tsp ground nutmeg freshly grated if possible
- 1 tbsp all-purpose flour to thicken juices
For the oat topping
- 1 cup old-fashioned rolled oats Do not use quick oats for best texture
- ¾ cup all-purpose flour
- ⅔ cup light brown sugar packed
- ½ tsp ground cinnamon
- ¼ tsp salt
- ½ cup unsalted butter cold, cut into small cubes
Instructions
- Preheat your oven to 350°F (175°C). Grease a 9-inch baking dish with butter or non-stick spray.
- In a large bowl, combine the peeled, sliced apples with granulated sugar, cinnamon, nutmeg, and flour. Toss until apples are evenly coated and mixture looks glossy. Transfer this to the prepared baking dish and spread evenly.
- In another bowl, mix the rolled oats, flour, brown sugar, cinnamon, and salt. Add the cold butter cubes and use a pastry cutter or fork to incorporate until the mixture resembles coarse crumbs. You can also use your fingers but work quickly to keep the butter from melting.
- Sprinkle the oat topping evenly over the apples, ensuring full coverage but without pressing it down tightly.
- Bake in the preheated oven for 40–45 minutes, or until the topping is deeply golden brown and the apple filling is bubbling near the edges.
- Let cool for 10–15 minutes before serving. Serve warm for best flavor and texture.
Notes
- If you want a gluten-free version, substitute the flour in both filling and topping with gluten-free flour and ensure oats are certified gluten-free.
- For an adult twist, macerate the apples in 1 tbsp of bourbon or spiced rum before baking.
- Add chopped pecans or walnuts to the topping for extra texture and flavor.
Nutrition
Your questions, answered
Can I use a different apple variety?
Yes, but Granny Smith is the best choice for this recipe because it stays firm and its tartness balances the sweet topping. If you use a softer or sweeter apple like Fuji or Honeycrisp, reduce the granulated sugar in the filling by 2 tablespoons and start checking for doneness around the 35-minute mark.
Do I need a pastry cutter, or can I use my hands?
Your hands work fine — the recipe says so — but speed matters. The warmth from your hands melts butter fast, so work in short bursts, pressing the butter into the oat mixture quickly rather than kneading it. If the mixture starts feeling greasy rather than crumbly, refrigerate it for 10 minutes before spreading it over the apples.
How do I know when it’s actually done?
Look for two things at the same time: the topping should be a deep golden brown across most of the surface, and the apple filling should be visibly bubbling at the edges of the dish. If only one of those is happening, it needs more time. A pale topping with bubbling edges means it needs 5 more minutes uncovered; a brown topping with no bubbling means the oven heat isn’t reaching the filling — give it another 8–10 minutes.
More recipes to try
- Warm and Rustic Apple Crisp with Hearty Oat Topping
- Warm and Comforting Classic Apple Crumble Delight
- Rustic European Spiced Apple Cake with Country Charm
- Classic European Vanilla Rice Pudding A Comforting Dessert