









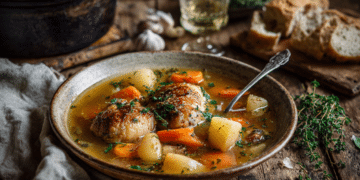


















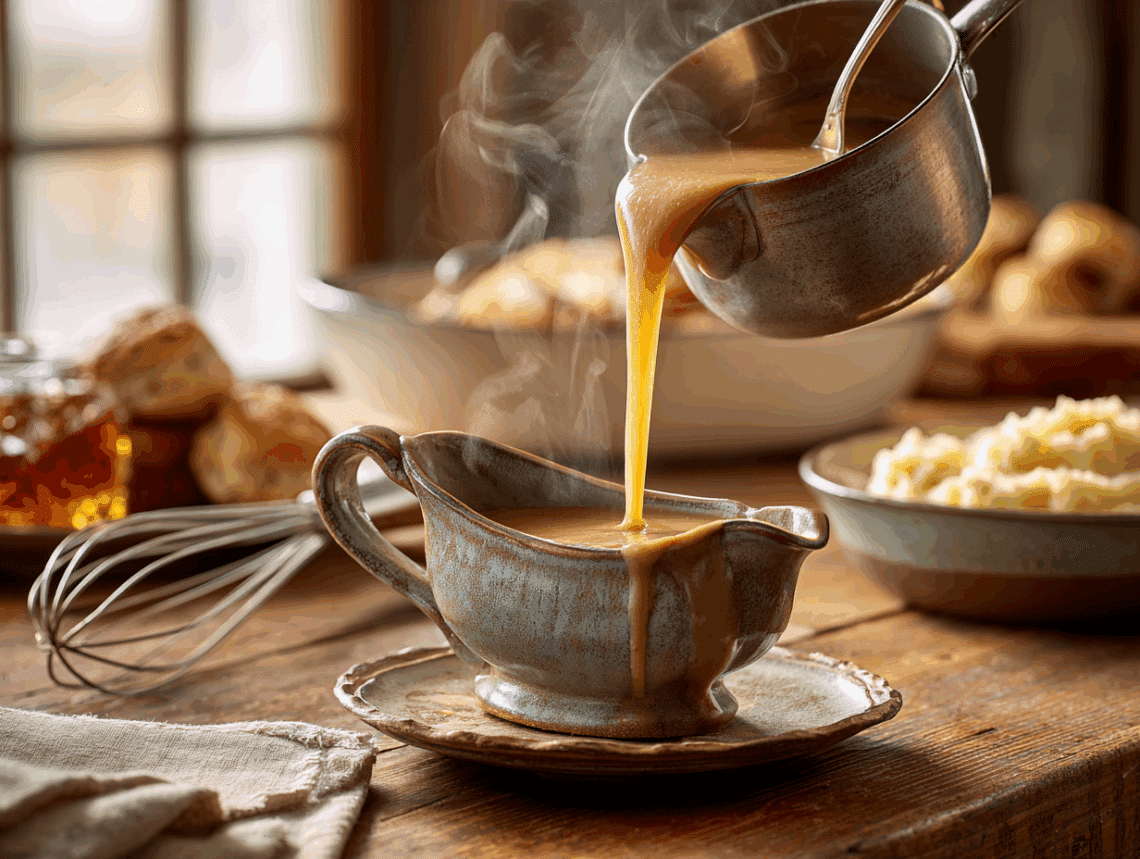
This is a straightforward roux-based gravy made with butter, flour, and either pan drippings or chicken stock — ready in 25 minutes and built to scale. The honest reason to make it yourself: store-bought gravy tastes like salt and cornstarch, and this doesn’t. Once you’ve made it a couple of times, it becomes one of the easiest things you can put on the table.
Why this recipe works
Two things actually matter here. First, cooking the roux for a full 4–5 minutes before adding any liquid drives off the raw flour taste — rush that step and the gravy will taste pasty no matter how long you simmer it afterward. Second, the liquid goes in warm and slow while you whisk constantly. Cold stock hitting a hot roux seizes up and forms lumps that are genuinely hard to fix. Warm stock added gradually keeps everything smooth from the start, which means you’re not scrambling with a strainer at the last minute when you have other things on the stove.
Smart swaps
- Pan drippings vs. stock: Drippings give you more depth and a slightly darker color. If you’re using stock alone, low-sodium is important — regular stock can make the finished gravy too salty once it reduces.
- Unsalted butter: The recipe calls for it specifically so you control the salt level. Salted butter works in a pinch, but hold off on adding any extra salt until the very end.
- Vegetarian version: Swap the chicken stock for a good vegetable broth and skip the Worcestershire or use a vegan version. The gravy will be lighter in color but still flavorful.
- Richer finish: A splash of heavy cream stirred in at the end adds body. Skip the garnish — not worth the extra dish.
Mistakes to avoid
- Making it too far ahead without accounting for thickening: Gravy continues to thicken as it sits. If you’re making a large batch for guests, pull it off the heat slightly thinner than you want it — it will reach the right consistency by the time it hits the table.
- Not tasting before serving: Pan drippings vary a lot in saltiness depending on how the meat was seasoned. Always taste and adjust at the end, not during cooking.
- Cranking the heat to speed things up: High heat scorches the butter solids at the bottom of the pan and gives the gravy a bitter edge. Medium heat throughout is not optional.
- Using cold butter: Cold butter takes longer to melt evenly and can cause the fat to separate before the flour is added. Start with butter at room temperature or cut it into small pieces so it melts quickly and evenly.
- Doubling the recipe without adjusting your pan size: A larger batch needs a wider pan so the liquid reduces and thickens properly. A small saucepan with double the volume will take much longer and heat unevenly.
Keeping and reheating
Leftover gravy keeps well in an airtight container in the fridge for up to 4 days. It will firm up considerably when cold — that’s normal. Reheat it gently in a small saucepan over low heat, adding a splash of stock or water and whisking as it warms to bring it back to the right consistency. For longer storage, freeze it in a zip-top bag or freezer-safe container for up to 3 months. Thaw overnight in the fridge before reheating. Frozen gravy can sometimes look separated when it thaws, but a good whisk over low heat will bring it back together.
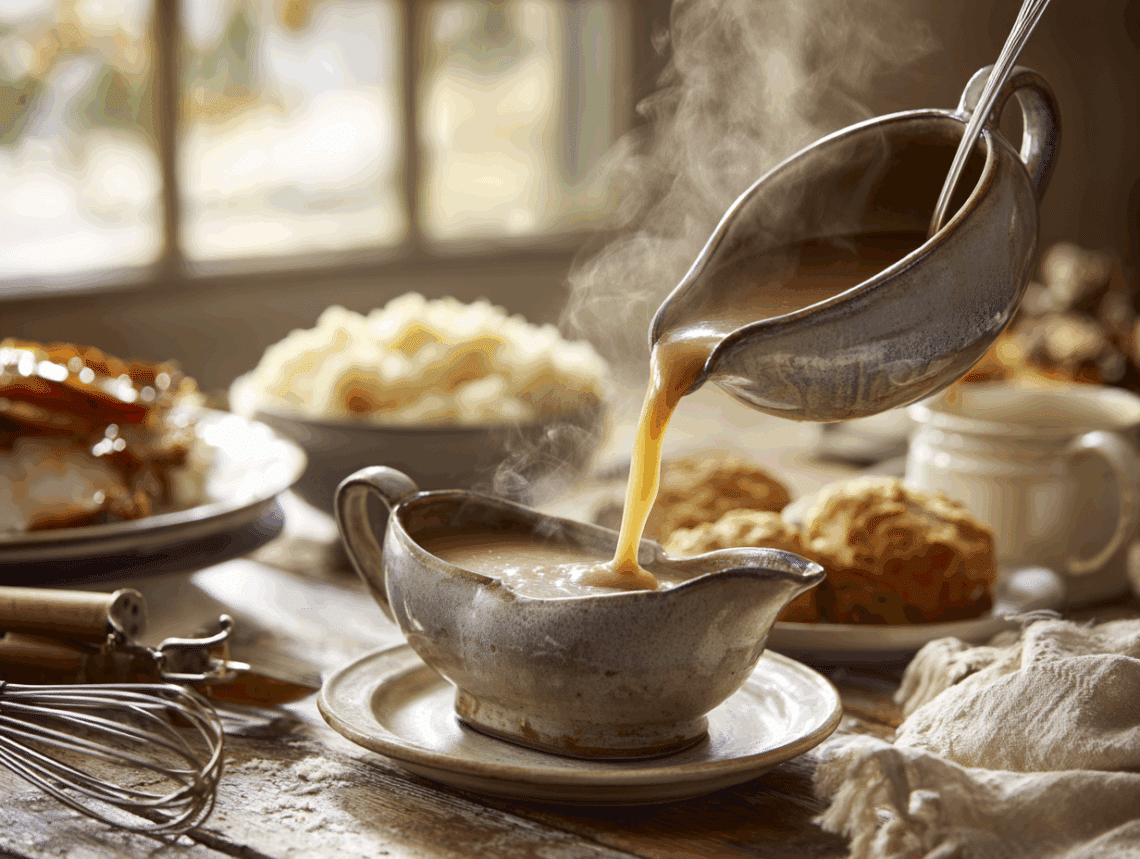
Classic Homemade Gravy
Equipment
- Large skillet or sauté pan
- Whisk
- Measuring cups and spoons
- Strainer (optional for smooth finish)
Ingredients
- ¼ cup unsalted butter prefer high-quality European-style butter for richness
- ¼ cup all-purpose flour unbleached flour recommended for deeper flavor
- 2 cups pan drippings or low-sodium chicken stock warm before use to avoid clumping
- ½ teaspoon kosher salt adjust to taste
- ½ teaspoon freshly ground black pepper coarse grind preferred for texture
- ½ teaspoon Worcestershire sauce adds umami depth (optional)
Instructions
- In a large skillet or sauté pan over medium heat (about 350°F / 175°C), melt the butter until it begins to foam but is not browned.
- Sprinkle the all-purpose flour evenly over the butter. Whisk continuously for 4–5 minutes until the mixture (roux) becomes a light golden brown and has a slightly nutty aroma. This deepens the flavor base of the gravy.
- Gradually add in the warm pan drippings or chicken stock, pouring in a slow stream while whisking constantly to avoid lumps.
- Bring the mixture to a gentle simmer. Reduce the heat slightly and let it cook for 8–10 minutes, whisking frequently, until the gravy is smooth and has thickened to your desired consistency.
- Season the gravy with kosher salt, black pepper, and Worcestershire sauce (if using). Taste and adjust seasoning if necessary.
- If a super-smooth texture is desired, strain the gravy through a fine-mesh sieve just before serving.
- Keep the gravy warm on low heat or in a gravy boat over a tealight warmer until ready to serve.
Notes
- To make a vegetarian version, substitute butter with olive oil and use vegetable broth instead of chicken stock.
- For a creamier result, stir in 2 tablespoons of heavy cream at the very end of cooking.
- Leftover gravy can be stored in the refrigerator for 3–4 days or frozen for up to 2 months.
Nutrition
Your questions, answered
Can I make this gravy ahead of time for a holiday meal?
Yes, and it actually holds up well. Make it up to two days ahead, store it in the fridge, and reheat gently on the stove with a splash of stock to loosen it. This frees up stove space when you need it most.
How do I fix gravy that’s too thick?
Whisk in warm stock or water, a tablespoon at a time, over low heat until it reaches the consistency you want. Add liquid slowly — it’s easier to thin gravy than to thicken it back up.
How do I fix gravy that’s too thin?
Keep it at a gentle simmer and let it reduce, stirring frequently — this usually takes just a few extra minutes. If you’re short on time, mix a teaspoon of flour with a tablespoon of cold water, whisk it smooth, then stir it into the gravy and cook for another 2 minutes.
Can I make a bigger batch for a crowd?
Absolutely — the recipe scales up well. Use a wide skillet or sauté pan rather than a small saucepan so the larger volume of liquid heats evenly and thickens at the right rate.
My gravy has lumps. Can I save it?
Pour it through a fine-mesh strainer and press it through with a spoon — that fixes most lumps quickly. If you don’t have a strainer, an immersion blender run for 20–30 seconds also works.
Does it matter what kind of pan drippings I use?
Not really — turkey, chicken, beef, and pork drippings all work. Just skim off any excess fat first, leaving about a quarter cup of fat in the drippings, or the gravy can turn greasy.
Try these next
- Homemade Classic Cranberry Sauce Perfect for Holiday Meals
- Hearty Shepherd’s Pie: A Comforting British Classic Reimagined
- Caramelized Brussels Sprouts with Balsamic Glaze and Crispy Shallots
- Creamy Fettuccine Alfredo: A Classic Italian Comfort Dish







Hello, I would really like to make your pickled beet and feta salad, but I have a couple of questions first. I notice on the post for the recipe, there is no option, such as this, to leave a reply.
Hi Cyndi, just post your questions here and we can look at trying to answer your questions. JUst add the url for the recipe you are interested in and we can move your question there so that others can see it.