

























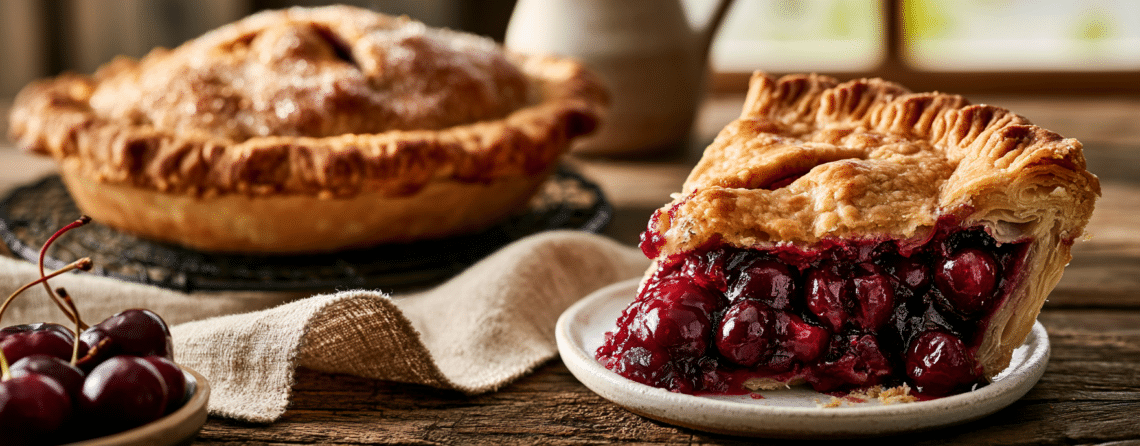
This is a double-crust cherry pie built around tart Montmorency cherries, with a cooked filling that sets up properly so you get clean slices instead of a soupy mess. The crust is an all-butter shortcrust — flaky, a little salty, and sturdy enough to hold a juicy filling without going soggy. If you have access to fresh Michigan tart cherries in season, this is exactly the recipe to use them in.
Why this recipe works
Two things make this pie reliable. First, the filling is cooked on the stovetop before it goes into the crust. This gives the cornstarch a chance to fully activate and thicken the cherry juices, so the filling isn’t watery when you cut into the baked pie. Second, the oven starts hot at 400°F and then drops to 350°F. The high heat sets the bottom crust quickly — which helps prevent a raw, doughy base — and the lower heat finishes the filling and browns the top without burning the edges.
What can go wrong
- Filling too runny after baking: This usually means the filling wasn’t fully thickened before going into the crust, or the pie wasn’t cooled long enough. The filling continues to set as it cools — give it at least 2 hours at room temperature before slicing.
- Bottom crust is pale and soft: Place the pie on the lowest oven rack, not the middle. The direct heat from below does more for the bottom crust than anything else. A preheated baking sheet under the pie helps too.
- Crust shrinks away from the edges: This happens when the dough is stretched rather than laid in loosely. Press the dough gently into the pan without pulling it, and make sure it’s fully chilled before baking.
- Top crust bubbles up and separates from the filling: Your steam vents weren’t cut deep enough, or there weren’t enough of them. Cut at least four vents and make sure they go all the way through the dough — a small knife works better than a fork for this.
- Cherries too tart even after adding the full amount of sugar: Fresh tart cherries vary a lot by batch and ripeness. Taste the filling after it thickens on the stove and add sugar one tablespoon at a time. Skip the extra granulated sugar sprinkled on top if you’ve already adjusted the filling — not worth the extra sweetness on an already-balanced pie.
Keeping and reheating
Once fully cooled, the pie keeps at room temperature loosely covered for up to 2 days. After that, refrigerate it for up to 4 more days — the crust softens slightly in the fridge, so if texture matters, reheat individual slices in a 325°F oven for about 10 minutes to crisp things back up. To freeze, wrap the fully baked and cooled pie tightly in plastic wrap and then foil; it keeps well for up to 3 months. Thaw overnight in the refrigerator and reheat the whole pie uncovered at 350°F for 20 to 25 minutes before serving.
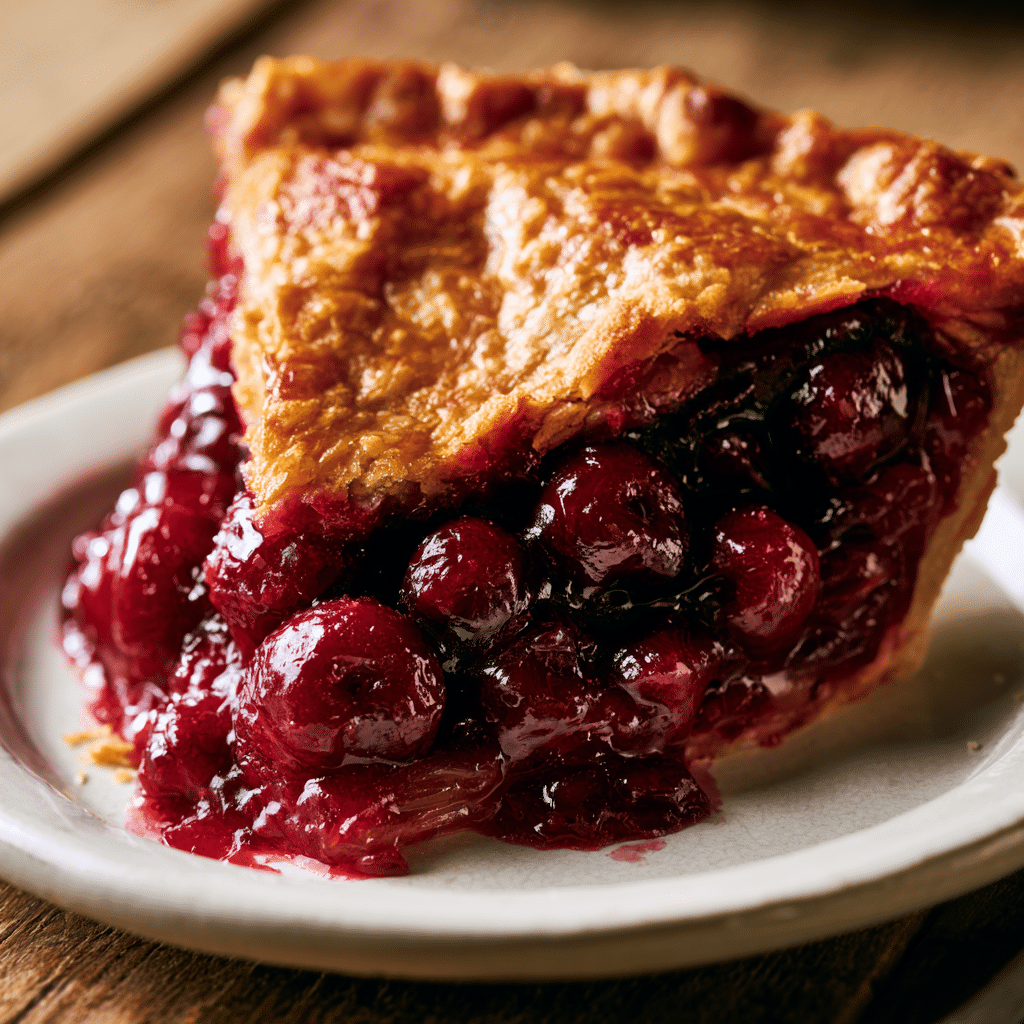
Michigan Cherry Pie

Equipment
- 9-inch pie pan
- Rolling Pin
- Pastry blender (or two knives)
- large saucepan
- Rimmed baking sheet
- Wire cooling rack
- Pastry brush
Ingredients
Pie Crust
- 2 ½ cups all-purpose flour 315g, preferably unbleached
- 1 teaspoon salt Kosher
- 1 cup unsalted butter 225g / 2 sticks, chilled, cut into 1/2-inch cubes
- 6-8 tablespoons ice water 90-120ml, must be cold
Filling
- 6 cups tart Michigan cherries about 2 lbs / 900g, pitted
- 1 ¼ cups granulated sugar 250g, adjust according to the sweetness of the cherries
- 2 tablespoons cornstarch 16g
- 1 tablespoon fresh lemon juice
- 1 teaspoon vanilla extract
Assembly
- 1 large egg lightly beaten, for egg wash
- 1 tablespoon granulated sugar 12g, for sprinkling over the crust
Instructions
Prepare the Pie Crust
- In a large bowl, whisk together flour and salt. Add the cold, cubed butter and blend with a pastry blender until the mixture resembles coarse crumbs.2 1/2 cups all-purpose flour, 1 teaspoon salt, 1 cup unsalted butter
- Gradually add ice water, one tablespoon at a time, mixing until the dough just holds together when pinched. Divide the dough in half, shape each half into a disk, wrap in plastic wrap, and refrigerate for at least 30 minutes.6-8 tablespoons ice water
Make the Cherry Filling
- In a large saucepan over medium heat, combine cherries, sugar, cornstarch, lemon juice, and vanilla extract. Cook, stirring frequently, until the mixture thickens and bubbles, about 10 minutes. Remove from heat and let cool to room temperature (about 30-45 minutes). Do not add hot filling to the pie crust or it will melt the butter and ruin the flaky texture.6 cups tart Michigan cherries, 1 1/4 cups granulated sugar, 2 tablespoons cornstarch, 1 tablespoon fresh lemon juice, 1 teaspoon vanilla extract
Assemble the Pie
- Preheat your oven to 400°F / 200°C. Roll out one disk of dough on a lightly floured surface into a 12-inch (30cm) circle, about 1/8 inch thick. Fit it into a 9-inch (23cm) pie pan, leaving a 1-inch overhang. Add the cooled cherry filling.6 cups tart Michigan cherries, 1 1/4 cups granulated sugar, 2 tablespoons cornstarch, 1 tablespoon fresh lemon juice, 1 teaspoon vanilla extract
- Roll out the second dough disk and place it over the filling. Trim the edges to a 3/4-inch overhang, fold the top crust under the bottom crust edge, then crimp to seal. Cut 4-5 slits in the top crust with a sharp knife to allow steam to escape. Brush the top with egg wash and sprinkle evenly with sugar.1 large egg, 1 tablespoon granulated sugar
Bake the Pie
- Place the pie on a rimmed baking sheet to catch any overflow. Bake for 20 minutes, then reduce the temperature to 350°F / 175°C and bake for 40 more minutes, or until the crust is golden brown and the filling is bubbly.
- Allow the pie to cool completely on a wire rack before serving, at least 3-4 hours, to allow the filling to set fully.
Notes
Nutrition
FAQ
Can I use frozen tart cherries instead of fresh?
Yes — frozen tart cherries work well in this recipe. Thaw them completely and drain off the excess liquid before cooking the filling, otherwise the extra moisture will make it difficult to get the right thickness.
Do I have to make the crust from scratch, or can I use store-bought?
A store-bought refrigerated pie crust will work if you’re short on time. The homemade all-butter crust has better flavor and a flakier texture, but the filling is the star here and it will still taste good with a purchased crust.
How do I know when the pie is actually done baking?
Look for two things: the crust should be deep golden brown, and the filling should be visibly bubbling through the steam vents. If the crust is browning too fast before the filling bubbles, tent the edges loosely with foil and keep baking.
Can I make this pie a day ahead?
Yes, and it actually slices better the next day once the filling has had time to fully set. Bake it the day before, cool it completely at room temperature, then store it loosely covered — no need to refrigerate overnight if your kitchen isn’t too warm.
If you liked this one
- Warm and Comforting Classic Apple Crumble
- Heavenly Strawberry Cake with Fresh Berries and Whipped Cream
- Classic Soft Sugar Cookies Perfect for Every Occasion
- Slow-Cooked Spiced Apple Butter: A Taste of Autumn’s Essence