



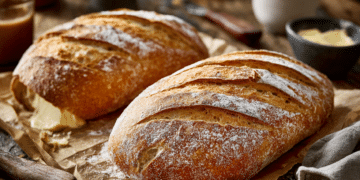

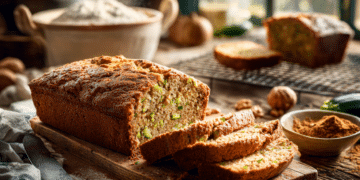



















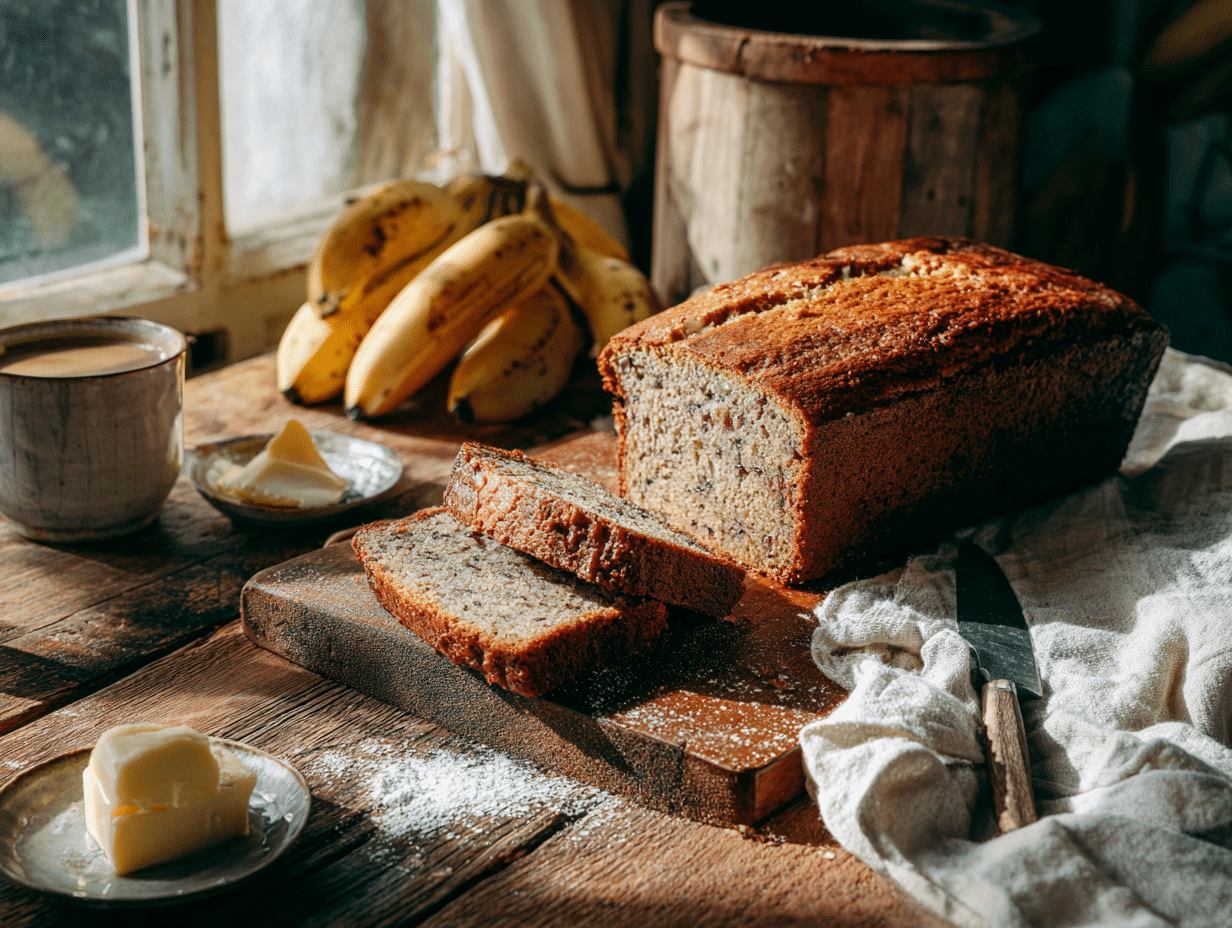
This is a one-bowl banana bread that comes together in 15 minutes of hands-on work and bakes unattended for an hour. It uses three ripe bananas, standard pantry staples, and no mixer. The honest reason to make it: it keeps well, slices cleanly the next day, and is genuinely easier to pull off than most baked goods.
Before you start
Two things actually matter here. First, your bananas need to be deeply overripe — skin mostly black, flesh soft and almost syrupy. Bananas that are just yellow with a few spots won’t give you enough natural sugar or moisture, and the loaf will taste flat. Second, don’t overmix once the flour goes in. Stir only until the dry streaks disappear. Overworking the batter develops gluten and turns the crumb tough and rubbery — a common reason a loaf comes out dense even when everything else is right.
What can go wrong
- The center is still wet after 60 minutes: Oven temperatures vary. If a toothpick comes out with wet batter (not just a moist crumb), tent the top loosely with foil to prevent over-browning and bake in 5-minute increments until it tests clean. Don’t pull it early — underbaked banana bread collapses when it cools.
- The loaf sinks in the middle: Usually caused by too much banana or underbaking. Stick to three medium bananas as written. If yours are very large, hold a little back.
- The top cracks unevenly or burns: A crack down the center is normal and fine. If the top is darkening too fast before the inside is set, move the pan to a lower rack and loosely cover with foil after the first 30 minutes.
- The bread sticks to the pan: Greasing alone sometimes isn’t enough, especially with older pans. Use parchment paper with a short overhang on the long sides — it makes lifting the loaf out clean and effortless. Skip the fancy garnish of sliced banana on top — not worth the extra sticking risk.
- The baking soda leaves a soapy aftertaste: Old baking soda is the usual culprit. Test yours by dropping a teaspoon into hot water — if it doesn’t bubble vigorously, replace it before baking.
Keeping and reheating
Banana bread actually improves overnight as the crumb firms up and the flavor deepens, which makes it a smart bake-ahead option. Once fully cooled, wrap the loaf tightly in plastic wrap or store sliced in an airtight container at room temperature for up to 3 days. For longer storage, refrigerate for up to 1 week — bring slices to room temperature before eating or the texture feels dense. To freeze, wrap the whole loaf or individual slices in plastic wrap, then seal in a zip-top freezer bag; it keeps well for up to 3 months. Thaw overnight at room temperature or warm individual slices in a toaster oven at 325°F for about 5 minutes.
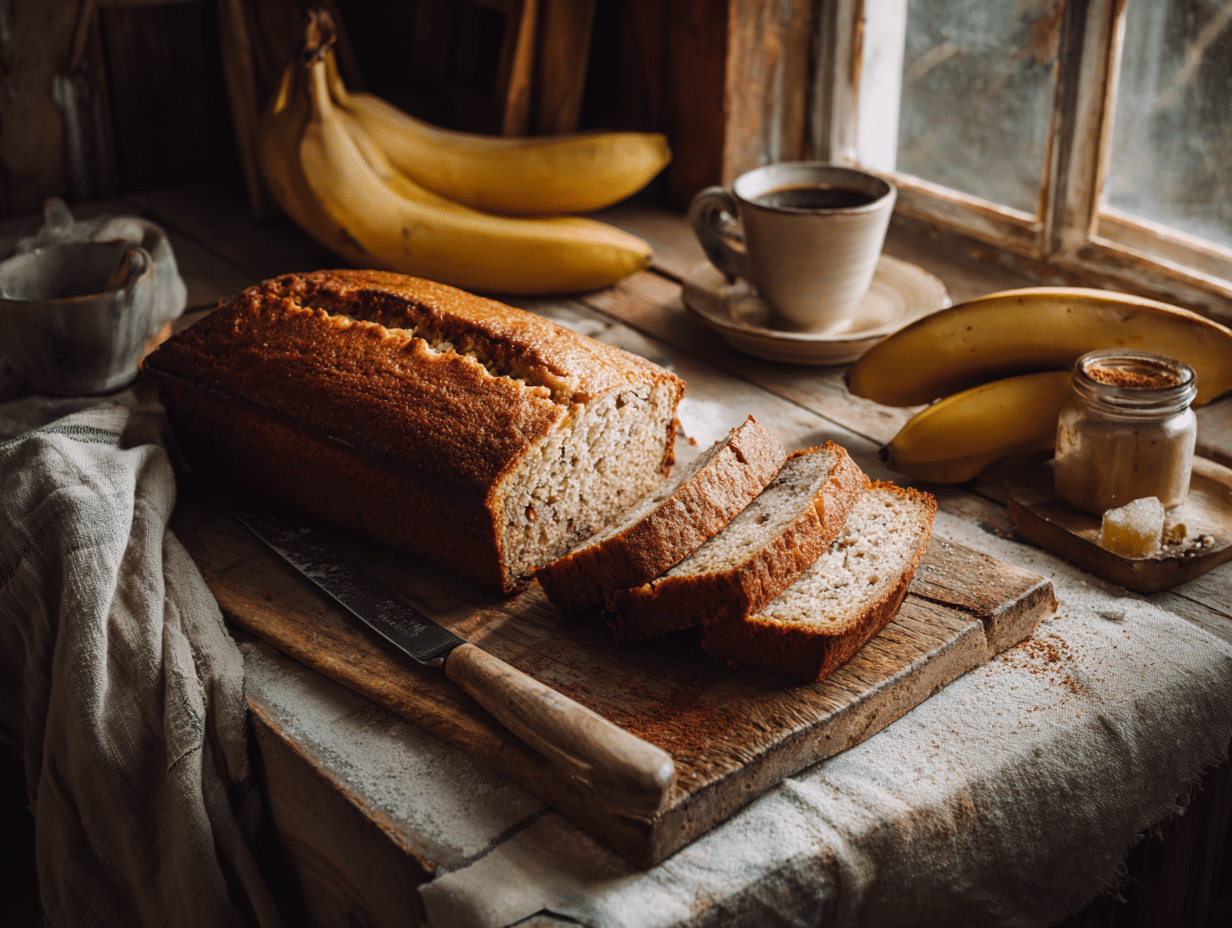
Easy Banana Bread

Equipment
- 9x5-inch loaf pan
- Mixing bowl
- Whisk
- Rubber spatula
- cooling rack
- Oven
Ingredients
- 3 medium ripe bananas mashed; the riper, the better for natural sweetness and moisture
- ⅓ cup unsalted butter melted and slightly cooled
- ½ cup granulated sugar you can reduce slightly for less sweetness
- 1 large egg room temperature for better emulsification
- 1 tsp vanilla extract use pure vanilla for best flavor
- 1 tsp baking soda ensure it's fresh for proper rise
- ¼ tsp salt
- 1 ½ cups all-purpose flour sifted for lighter texture
- ½ tsp ground cinnamon optional, for warming flavor
- ½ cup chopped walnuts or pecans optional, for texture and nutty flavor
Instructions
- Preheat your oven to 350°F (175°C). Lightly grease a 9x5-inch loaf pan or line with parchment paper for easy removal.
- In a large mixing bowl, mash the ripe bananas with a fork until smooth. Stir in the melted butter.
- Mix in the sugar, egg, and vanilla extract until well combined. Use a whisk or wooden spoon to beat gently until the mixture is homogenous.
- Add the baking soda and salt, stirring briefly to distribute. Then sprinkle in the cinnamon and gently fold in the flour with a rubber spatula just until no visible streaks remain.
- If using nuts, fold them in gently at this stage. Avoid overmixing to keep the bread tender.
- Pour the batter into the prepared loaf pan and smooth the top evenly.
- Bake for 55–60 minutes, or until a toothpick inserted into the center comes out clean. The top should be golden brown and slightly cracked.
- Let the banana bread cool in the pan for 10 minutes before transferring to a wire rack to cool completely.
Notes
- You can replace half of the all-purpose flour with whole wheat flour for a nuttier, slightly denser version.
- Swap sugar for maple syrup or honey for natural sweetness. Reduce slightly to account for extra moisture.
- To intensify banana flavor, use previously frozen ripe bananas—thawed and drained.
Nutrition
Common questions
Can I make this without eggs?
Yes — replace the egg with a flax egg (1 tablespoon ground flaxseed mixed with 3 tablespoons water, rested for 5 minutes). The loaf will be slightly denser and may need an extra 5 minutes in the oven, but it holds together well.
Can I use frozen bananas?
Frozen bananas work great here. Thaw them completely at room temperature or in the microwave, then drain off the excess liquid before mashing — too much liquid throws off the batter consistency.
Do I have to sift the flour?
No, sifting is optional. If your flour is packed tightly in the bag, just spoon it into the measuring cup and level it off rather than scooping directly — that alone prevents adding too much flour, which is what actually matters.
Can I bake this as muffins instead of a loaf?
Yes. Divide the batter evenly into a standard 12-cup muffin tin lined with paper cups and bake at 350°F for 20 to 25 minutes, testing with a toothpick at 20. The same batter, no other changes needed.
Why does my banana bread taste bland even when it looks right?
The most common cause is bananas that weren’t ripe enough — they need to be past the point where you’d want to eat them fresh. A second factor is skipping the salt or using too little; it does more than you’d expect to bring out the banana flavor.
What to cook next
- Classic Banana Nut Bread
- Fluffy Homemade Pancake Mix
- Warm and Comforting Classic Apple Crumble
- Fluffy Cinnamoroll Milk Bread Cinnamon Rolls






So far love the recipe
This was delicious 😋
I loved the ground cinnamon!
Just wanted to point out you never mentioned when to add the flour into the batter prep. Trying the recipe now so we’ll see how it turns out. Thanks
Thanks Charles. It is in the process in step 4. You include the flour when you add the baking powder and salt …”Add the baking soda and salt, stirring briefly to distribute. Then sprinkle in the cinnamon and gently fold in the flour with a rubber spatula just until no visible streaks remain.”
This was absolutely wonderful. My first attempt at baking anything from scratch and not from pre-pared items and it turned out fantastic. Thank you for sharing a recipe with instructions so easy to follow that even a first-timer like myself could get it right. I tried to give this 5 stars but it’s only letting me give 4.
DELICIOUS AND EASY
Loved baking it. And everyone at the event Loved it!!! Thank you I give it 5 stars for some reason it won’t let me fill in 5 stars . But it’s a 5 star for sure.
Can you cook in mini loaf pans. If so how long to cook.
Easy to make. I like it sweeter so next time I’ll add a bit more sugar.
Great question! Yes, you can absolutely use mini loaf pans. Keep the oven temperature at 350°F, but reduce the baking time to about 30–40 minutes. Start checking with a toothpick at the 30-minute mark to ensure they stay perfectly moist!
Turned out great thank you.
Can you explain how to freeze and thaw the bananas? Do I peel them first?
Great question! Yes, always peel them first — frozen banana skins go slimy and are a nightmare to remove later.
Here’s what I do: **To freeze:** Wait until the bananas are really spotty and ripe (that’s when they’re sweetest and best for baking). Peel them, then either pop them whole into a freezer bag, or mash them first and freeze in 1-cup portions — super handy because one cup is roughly what you need for most banana bread recipes. Squeeze the air out of the bag and they’ll keep for 3–6 months.
**To thaw:** Either leave them on the counter for a couple of hours, overnight in the fridge, or zap them in the microwave for about 30–60 seconds if you’re in a rush.
One tip that catches people out — thawed bananas will release a lot of brownish liquid and look pretty unappetising. Don’t pour it off! That liquid is packed with banana flavour, so tip the whole lot (bananas + juice) straight into your batter. It makes the loaf extra moist and flavourful.
Hope that helps — happy baking!
Very easy tasty recipe. And by the way step 4 incorporates the flour for the person who missed the step putting the flour in.
Great instructions and had all the ingredients already in the house. It smells so good in the oven! FIVE STARS!!!
I am going to try this tomorrow! how could i incorporate brown sugar into this recipe as well! i love sweet things and i think light brown sugar would go great with this as well! (i would like to keep the regular sugar as well lol)
Oh, I love how you think! Brown sugar is such a beautiful addition to banana bread — it brings this gorgeous caramel-y, almost butterscotch note that pairs perfectly with the bananas. You’re absolutely going to love it.
Here’s what I’d recommend: swap out half of the granulated sugar for light brown sugar (packed). So if the recipe calls for 1 cup of sugar, use ½ cup white and ½ cup packed light brown. That keeps the structure and lightness from the regular sugar while layering in that warm molasses depth from the brown.
A few tips to make it sing:
Pack the brown sugar firmly when measuring — loosely scooped brown sugar can throw off the ratio.
Cream it well with the butter (or wet ingredients) so it fully dissolves — undissolved brown sugar can leave little gritty pockets.
Because brown sugar adds extra moisture, your loaf may need an additional 5 minutes or so in the oven. Just check with a toothpick around the 55-minute mark.
If you want to lean even further into that cozy flavor, a pinch of extra cinnamon (or a tiny dash of nutmeg) really plays up the brown sugar’s warmth.
If you want to go full sweet-tooth mode, you can also sprinkle a little brown sugar on top of the batter right before baking — it forms the most irresistible crackly, caramelized crust. Highly recommend.
Can’t wait to hear how it turns out tomorrow! Tag me or drop a photo in the comments if you bake it — I always love seeing your spins on a recipe.
Can the all purpose flour be substituted with cake flour?
Great question! Yes, you can use cake flour in this recipe — and it’ll actually give you a lovely, tender, almost cake-like crumb that works beautifully with banana bread.
A couple of things to keep in mind though:
Cake flour has less protein than all-purpose (around 8% vs 10–12%), which means less gluten and a softer structure. For banana bread that’s mostly a good thing, but you don’t want it so loose that the loaf sinks in the middle. The standard conversion is 1 cup all-purpose = 1 cup + 2 tablespoons cake flour, so for this recipe you’d use about 1½ cups + 3 tablespoons of cake flour.
If you’d rather keep it simple, a straight 1:1 swap (1½ cups cake flour) also works — the loaf will just be a touch more delicate. Either way, be gentle when folding so you don’t knock the air out.
One small heads-up: cake-flour loaves tend to brown a little faster, so start peeking around the 50-minute mark and tent with foil if the top is getting dark before the centre is set.
Happy baking — let me know how it turns out!
Just wondering if baking powder can be used instead of baking soda?
Hi Samanatha,
You can use baking powder instead of baking soda, but they aren’t a 1:1 swap. Baking powder is about three times weaker, so you’ll want to use roughly 3 teaspoons of baking powder for every 1 teaspoon of baking soda the recipe calls for.
Just a heads up: using the larger amount can sometimes add a slightly bitter taste and make the loaf a touch more cakey and a little paler (baking soda helps with that lovely golden browning). So if you happen to have even a small amount of baking soda on hand, I’d recommend sticking with it for the best results.
But if baking powder is all you’ve got, the 3:1 swap will absolutely work. Hope your banana bread turns out delicious — let me know how it goes!
Easy and perfect recipe
Thanks for a great recipe!!
Thanks for a great recipe! This one is a keeper.