

































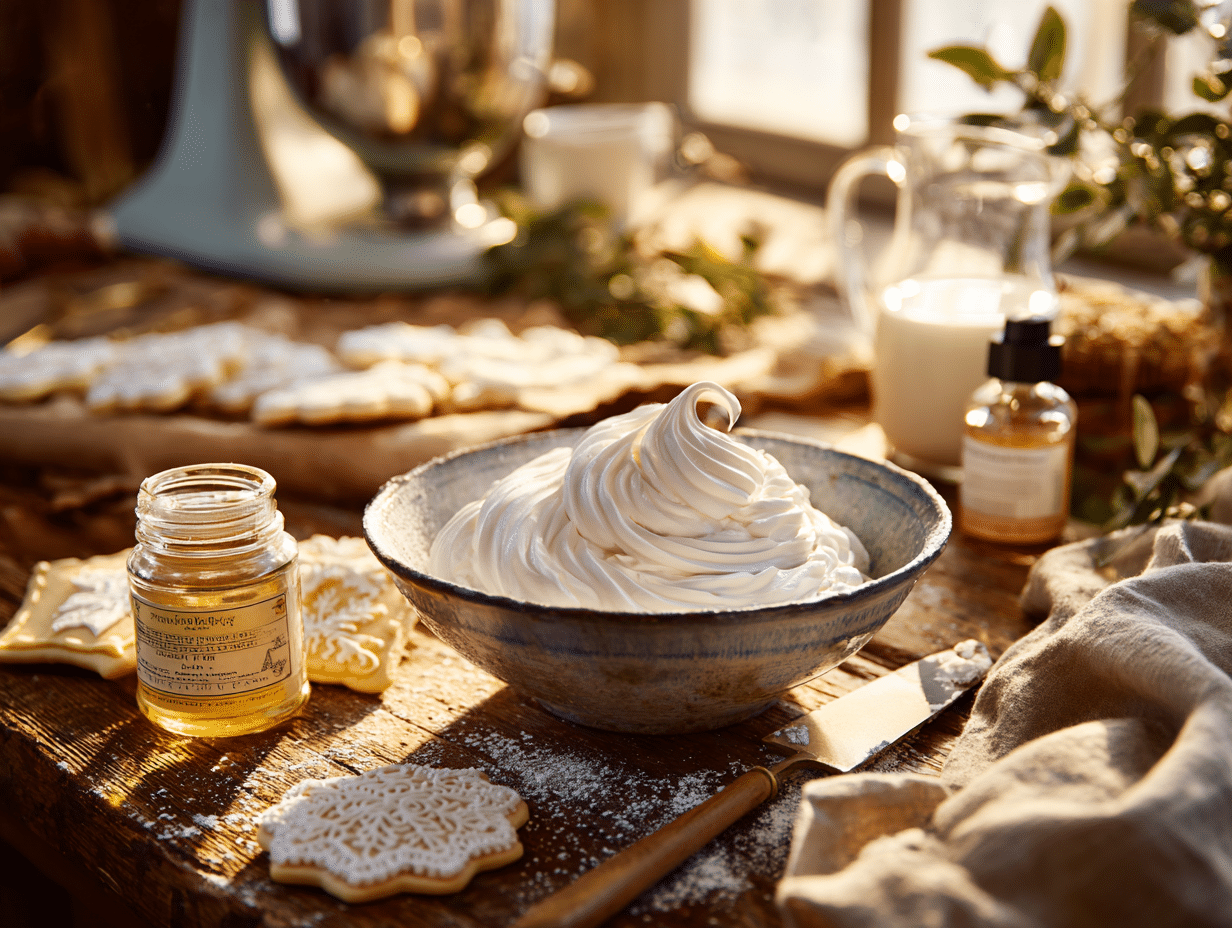
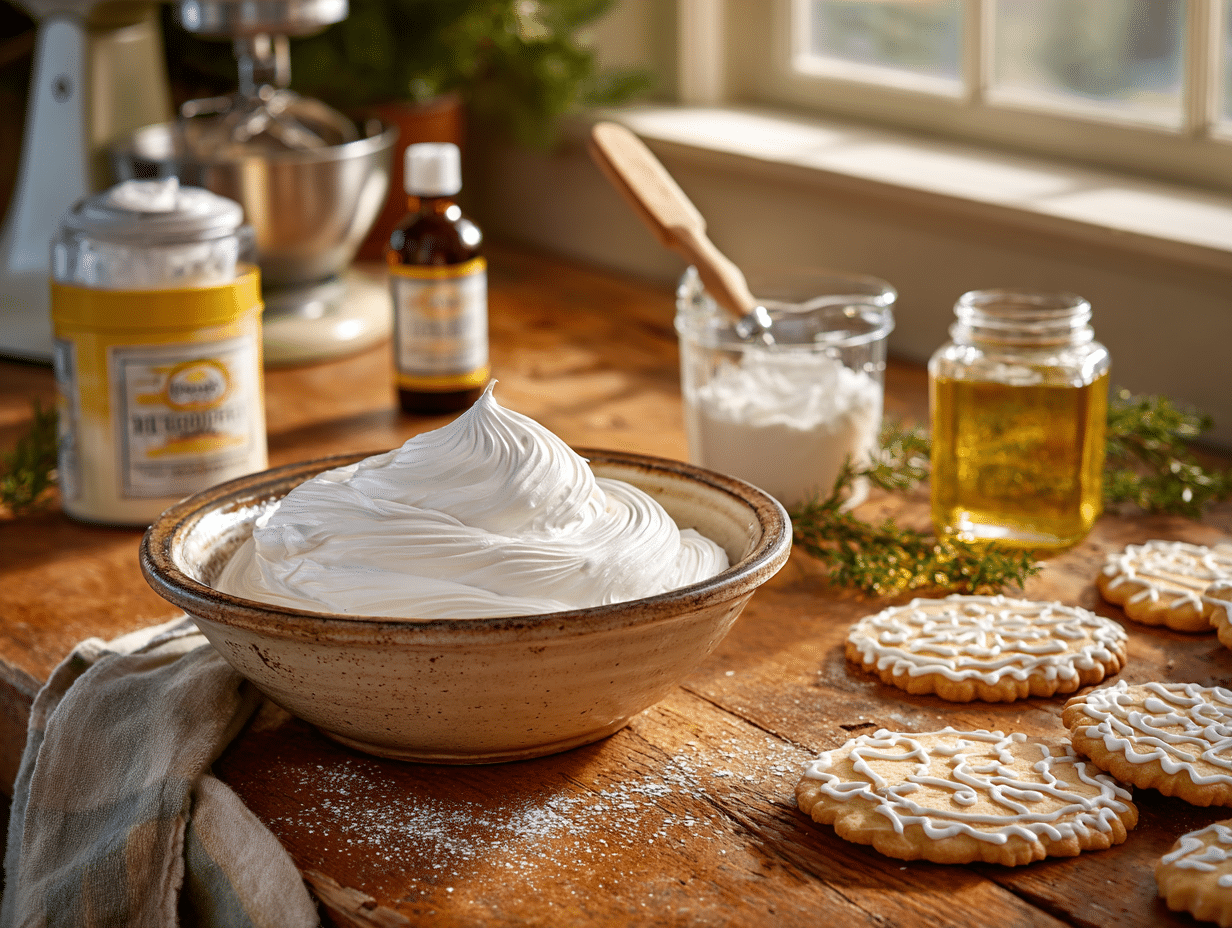
This is a three-ingredient royal icing that dries hard, holds detail, and comes together in about ten minutes. It works for flooding cookies, piping outlines, and building gingerbread houses — basically anything that needs a firm, clean finish. If you’ve ever bought a tube of decorating icing at the grocery store and felt underwhelmed, this is the recipe that replaces it for good.
Ingredient notes
- Meringue powder: This is the ingredient most people haven’t used before. It’s dried egg whites mixed with stabilizers, and you’ll find it in the baking aisle or at craft stores like Michaels. Wilton is the most widely available brand and works well here. Don’t substitute regular dried egg whites — they lack the stabilizers and the icing won’t set as firmly.
- Confectioners’ sugar: Sift it even if the bag looks smooth. Lumps will clog a piping tip and create bumps in a flooded surface.
- Clear vanilla extract: Regular (amber) vanilla will tint the icing slightly cream or beige. That’s fine for most cookies, but if you want a true white — for wedding favors or snow effects — use clear vanilla. It’s a small thing that makes a visible difference.
- Warm water: Tap water is fine. The warmth helps the meringue powder dissolve fully before beating.
Before you start
The one thing that actually matters here is how long you beat the icing. Five to seven minutes at medium-high speed isn’t a suggestion — it’s what builds the structure. Stop too early and the icing will be glossy but soft, and it won’t hold a piped line or dry to a hard finish. You’re looking for stiff, matte-looking peaks that don’t droop when you lift the whisk. Also, have plastic wrap ready before you start. Royal icing skins over in minutes when exposed to air, so any bowl you’re not actively working from needs to be covered immediately — pressed directly onto the surface of the icing, not just draped over the bowl.
Troubleshooting
- Icing is grainy or gritty: The confectioners’ sugar wasn’t sifted, or the meringue powder didn’t fully dissolve. Next time, whisk the dry ingredients together for a full minute before adding water. You can try pushing the finished icing through a fine-mesh sieve, but it’s easier to start over.
- Flooded surface has bubbles: You piped the flood icing too fast, or the consistency was too thin. Let flooded cookies sit for 30 seconds, then use a toothpick to pop and smooth any bubbles before the icing begins to set.
- Icing isn’t drying hard after several hours: The kitchen is too humid. Royal icing needs dry air to cure properly. Run a fan nearby or move the cookies to a drier room. In very humid weather, drying can take twice as long.
- Colors are bleeding into each other: You applied a second color before the first layer was fully set. Outline and flood colors need at least 30–60 minutes of dry time before you add detail work on top.
- Icing is too stiff to pipe smoothly: Add water half a teaspoon at a time and stir by hand — don’t re-whip, or you’ll add air bubbles. Skip the stand mixer for thinning adjustments; a spatula gives you more control.
Keeping and reheating
Royal icing keeps in the fridge for up to one week in an airtight container with plastic wrap pressed directly onto the surface. Before using refrigerated icing, let it come to room temperature for about 20 minutes, then rewhip with a hand mixer for two to three minutes to restore the texture — it will look separated or flat straight from the fridge, but it comes back. Royal icing doesn’t freeze well; the texture breaks down on thawing and rewhipping rarely fully recovers it. Make only what you need for the session, or plan to use any leftovers within the week.
Classic Royal Icing

Equipment
- Stand mixer or hand mixer
- Mixing bowl
- Fine-mesh sieve (optional)
- Spatula
Ingredients
- 3 cups confectioners' sugar sifted for best results
- 2 tablespoons meringue powder Use high-quality for best stability
- 5 tablespoons warm water Use filtered or bottled for purity
- 1 teaspoon vanilla extract Clear vanilla keeps the icing bright white
Instructions
- In a large mixing bowl, sift the confectioners' sugar if it appears lumpy. This ensures a smooth texture and prevents clogging if piping.
- Add the meringue powder to the sugar and briskly whisk to combine thoroughly.
- With a stand mixer or hand mixer fitted with a whisk attachment, start mixing on low speed. Gradually pour in the warm water and clear vanilla extract.
- Increase the speed to medium-high and beat for about 5–7 minutes, or until the icing becomes glossy with stiff peaks. You'll know it's ready when the icing holds a peak that doesn't curl or fall.
- Use immediately or divide and thin with small amounts of water to reach your desired piping or flooding consistency. Keep unused icing covered with plastic wrap pressed directly onto the surface to prevent drying out.
Notes
- Substitute lemon juice in place of vanilla for a fresh, tangy version perfect for spring and citrus flavors.
- If you don’t have meringue powder, 2 egg whites can be used instead (though it shortens shelf life and requires pasteurized eggs).
- To color, use gel food coloring sparingly. Mix in small amounts at a time to avoid thinning.
- Store in an airtight container in the fridge for up to a week. Rewhip before use.
Nutrition
Frequently asked questions
Can I make royal icing without a stand mixer?
Yes — a hand mixer works just as well. You’ll need to hold the bowl steady and keep the beaters moving for the full five to seven minutes, but the result is identical to a stand mixer.
How do I know when the icing is the right consistency for flooding versus piping?
For piping outlines, the stiff icing from the recipe is ready to go. For flooding, thin it with water a few drops at a time until a ribbon of icing drizzled back into the bowl disappears and flattens in about 10 seconds — that’s the standard test decorators use.
My icing dried dull instead of glossy. What went wrong?
Dull drying usually means the icing was over-beaten or the flooding layer was spread too thin. Make sure you’re flooding generously enough to fill the outlined area completely, and avoid spreading it with a spoon — let it flow on its own and guide it with a toothpick.
Is royal icing safe to eat?
Yes, when made with meringue powder instead of raw egg whites. Meringue powder is heat-treated, so there’s no food safety concern — it’s safe for kids, pregnant people, and anyone avoiding raw eggs.
Can I use liquid food coloring instead of gel?
You can, but it will thin the icing and you may need to add a little extra confectioners’ sugar to compensate. Gel coloring is worth buying — a small bottle lasts a long time and gives you more vibrant color with far less product.
How long does royal icing take to dry completely on cookies?
A flooded cookie is touch-dry in one to two hours but needs a full six to eight hours to harden completely through. Stack or package cookies only after the full drying time, or the surfaces will dent and stick together.
Try these next
- Classic Soft Sugar Cookies Perfect for Every Occasion
- Melt-in-Your-Mouth Scottish Shortbread Cookies
- Indulgent Giant Chocolate Chip Cookie Cake for Celebrations
- Sunshine in a Jar: Crafting Classic British Lemon Curd