











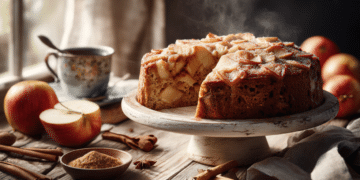








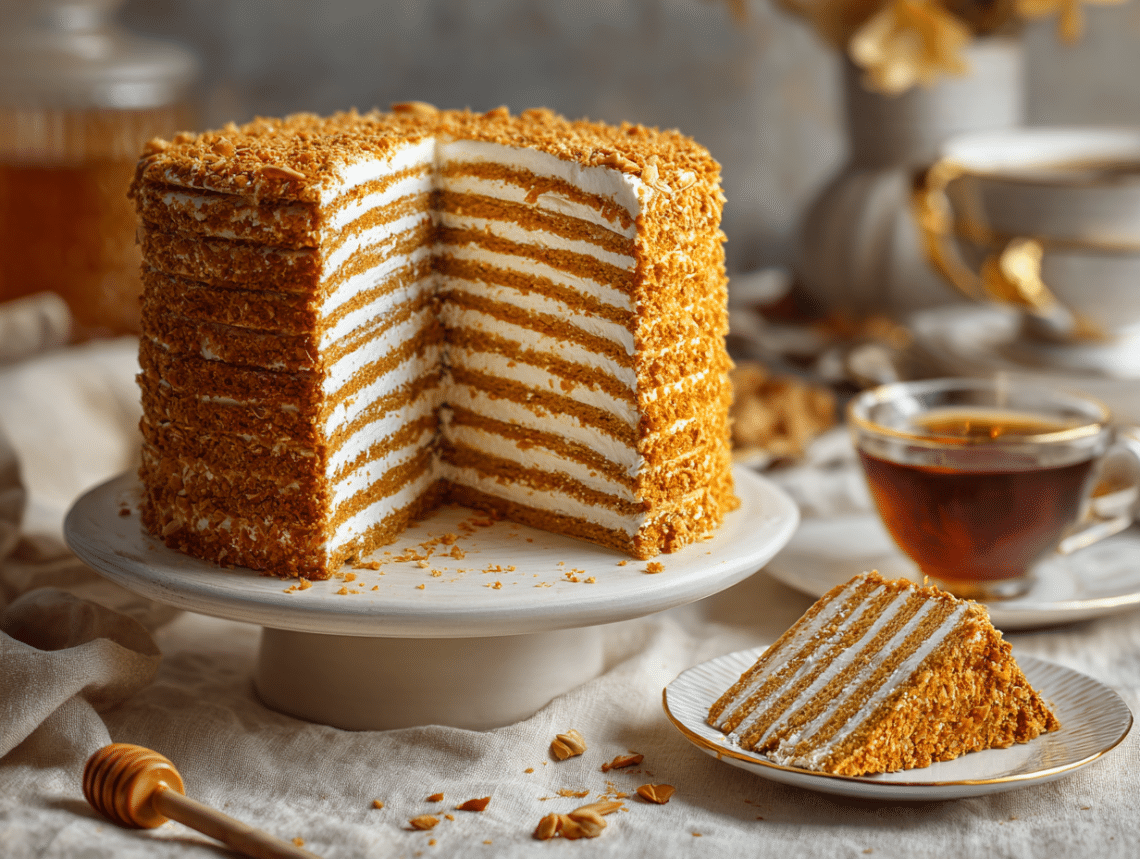
Medovik is a Russian layered honey cake built from eight thin baked honey biscuits stacked with a sour cream and whipped cream filling. The layers go in crisp and come out of the fridge the next morning completely soft — the overnight rest does the work you don’t have to. It takes about two hours of active time, most of which is rolling and baking one layer at a time, and the payoff is a cake that slices cleanly and feeds twelve people.
Why this recipe works
Two things make this cake succeed. First, cooking the dough base over a double boiler — whisking the eggs, sugar, honey, butter, and baking soda together over heat — caramelises the sugars before any flour goes in. That step is what gives each biscuit layer its deep honey flavour and golden colour. Second, the filling is a combination of cold heavy cream and full-fat sour cream whipped together. The sour cream adds enough acidity to cut through the richness, and the fat content in both keeps the mixture stable enough to hold the stacked layers without collapsing. Neither step is complicated, but skipping or rushing either one produces a noticeably flatter result.
What can go wrong
- Layers burning at the edges before the centre sets: Thin honey dough browns fast. If your oven runs hot, check at four minutes rather than five. Rotate the baking sheet halfway through if your oven has hot spots.
- Dough too sticky to roll: The dough firms up as it cools. If it’s sticking badly, let it rest another two or three minutes before rolling — don’t just add more flour, which toughens the layers.
- Filling too loose to spread without sliding: This usually means the cream or sour cream wasn’t cold enough before whipping. Chill your bowl in the freezer for ten minutes before you start, and make sure both dairy items come straight from the fridge.
- Cake won’t slice cleanly after resting: It needs the full eight hours minimum. Six hours in, the layers are still partly firm and the cake will tear rather than cut. Overnight is not optional — it’s the actual cooking step.
- Crumb coating falls off the sides: Press the crumbs on firmly right after you coat the outside of the cake, before the cream surface starts to dry. A light press with your palm is enough to make them stick.
About the ingredients
- Honey: Any mild runny honey works — clover, acacia, or store-brand wildflower. Strong honey like buckwheat will overpower the filling. Avoid thick set honey; it doesn’t incorporate evenly over the double boiler.
- Sour cream: Full-fat is not negotiable for the filling — reduced-fat versions have too much water and the filling won’t whip to stiff peaks. If you can’t find sour cream, full-fat crème fraîche is a direct swap at the same quantity.
- Heavy whipping cream: Needs to be at least 35% fat. Half-and-half will not whip.
- Almonds for garnish: Skip the garnish — not worth the extra dish. The baked trimmings crumbled over the outside give you all the texture you need, and the cake looks finished without them.
- Powdered sugar: Regular granulated sugar will leave a slightly gritty texture in the filling. If you’re out of powdered sugar, blitz granulated sugar in a blender for thirty seconds — it works.
Make-ahead notes
This cake is built for making ahead. Once assembled and coated, it keeps in the fridge for up to four days — the texture actually improves between day one and day two as the layers continue to absorb the cream. To freeze, assemble the cake fully, freeze it uncovered for two hours until the outside is firm, then wrap tightly in two layers of plastic wrap and freeze for up to six weeks. Thaw overnight in the fridge, not on the counter. The biscuit layers alone (unassembled) can be baked up to three days ahead and stored in an airtight container at room temperature, which breaks the project into manageable chunks if you don’t want to do it all in one go.
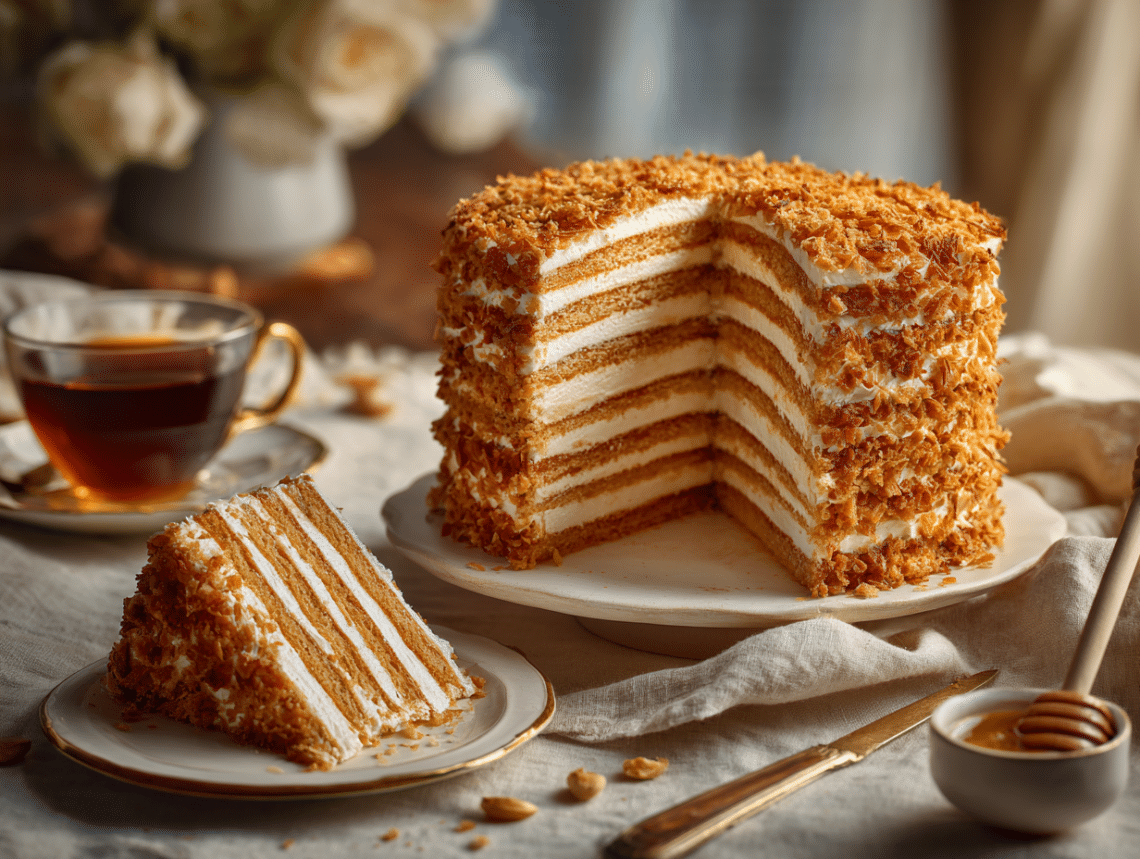
Russian Honey Cake (Medovik) – Classic Layered Recipe

Equipment
- Large baking sheet
- Parchment paper
- Rolling Pin
- 8-inch (20cm) cake ring or plate
- Large mixing bowl
- Electric hand mixer or stand mixer with whisk attachment
- Offset spatula
- Wire cooling rack
Ingredients
- 2 cups all-purpose flour
- 2 large eggs
- ¼ teaspoon fine sea salt
- ¾ cup honey
- ½ teaspoon baking soda
- 1 cup powdered sugar confectioners' sugar
- ¾ cup heavy whipping cream cold
- 1⅓ cups full-fat sour cream cold
- ⅓ cup almonds roughly chopped, for garnish
- ½ cup granulated sugar
- 2 tablespoons unsalted butter to taste, chopped
Instructions
- Preheat the oven to 320°F / 160°C (140°C fan-forced). Line a large baking sheet with parchment paper.
- In a heatproof bowl set over a pan of gently simmering water (double boiler), whisk the eggs with the granulated sugar, honey, butter, baking soda, and salt. Stir continuously for 5-7 minutes until the mixture turns a light caramel colour and becomes smooth and slightly foamy. Remove from the heat.
- Gradually add the flour to the warm honey mixture, stirring with a wooden spoon or spatula until a soft, slightly sticky dough forms. Let the dough cool for 5 minutes until it is comfortable to handle.
- Divide the dough into 8 equal portions (approximately 70g each). Roll one portion out on lightly floured parchment paper into a very thin round, about 8 inches / 20cm in diameter and roughly 2mm thick. Trim to a neat circle using a cake ring or plate as a guide. Transfer the parchment with the dough to the baking sheet. Save all trimmings.
- Bake for 5-6 minutes until the layer is golden and just firm to the touch. Watch closely — the thin layers can burn quickly.
- Remove the baking sheet from the oven and let the biscuit layer cool on a wire rack for 2-3 minutes — just until firm enough to handle.
- Carefully peel the biscuit layer off the parchment and transfer it to a wire rack to cool completely. Repeat with the remaining 7 dough portions. Gather all the dough trimmings, roll them out thin, and bake them as well — these will become your crumble topping.
- In a large chilled mixing bowl, combine the cold heavy whipping cream, cold sour cream, and powdered sugar. Using an electric hand mixer or stand mixer with the whisk attachment, whip on medium-high speed for 3-4 minutes until the mixture holds stiff peaks and is thick enough to spread without running.
- Place the first biscuit layer on a serving plate or cake board. Using an offset spatula, spread an even layer of cream (about 3-4 tablespoons) over the biscuit. Stack the next biscuit layer on top and repeat until you have used 7 biscuit layers with cream between each one. Spread the remaining cream over the top and sides of the cake.
- Crush the baked trimmings (and any extra biscuit layer) into fine crumbs using your hands or a rolling pin inside a zip-lock bag. Mix the crumbs with the chopped almonds. Press the crumble mixture generously over the top and sides of the cake.Cover the cake loosely and refrigerate for at least 8 hours or overnight. This resting time is essential — the cream softens the biscuit layers into a tender, sliceable cake. Remove from the fridge 15-20 minutes before serving for the best texture.
- Cover the cake loosely and refrigerate for at least 8 hours or overnight. This resting time is essential — the cream softens the biscuit layers into a tender, sliceable cake. Remove from the fridge 15-20 minutes before serving for the best texture.
Nutrition
Your questions, answered
Can I use a different pan size if I don’t have an 8-inch ring or plate?
Yes — any round guide between 7 and 9 inches works fine. A smaller circle gives you thicker, taller layers with more cream between them; a larger circle gives you wider, thinner layers. Just be consistent across all eight portions so the stack is even.
My honey has crystallised in the jar. Can I still use it?
Yes, crystallised honey is fine for this recipe. Set the jar in a bowl of warm water for ten minutes to loosen it before measuring, then proceed as normal — the double boiler step will melt it fully anyway.
Can I make fewer layers if I don’t want to roll and bake eight rounds?
You can stop at six layers, but the cake will be noticeably shorter and the ratio of cream to biscuit shifts. The trimmings from six layers also won’t give you enough crumble to coat the outside properly, so you’d need to sacrifice one full layer for crumbs instead.
Is there a dairy-free version of the filling?
Full-fat coconut cream (refrigerated overnight, with the liquid drained off) can replace the heavy whipping cream, and a thick dairy-free sour cream alternative can replace the sour cream. The filling will be slightly less stable, so work quickly when assembling and get the cake into the fridge as soon as possible.
How do I know when the double boiler mixture is ready before adding flour?
The mixture is ready when it has turned a pale amber colour, looks slightly foamy on top, and feels smooth with no visible sugar grains when you rub a small amount between your fingers. This takes five to seven minutes of continuous stirring — don’t rush it by turning up the heat, or the eggs will scramble.
Try these next
- Heavenly Strawberry Cake with Fresh Berries and Whipped Cream
- Elegant Pavlova with Fresh Berries
- Classic European Vanilla Rice Pudding
- Crispy Italian Almond Biscotti