





























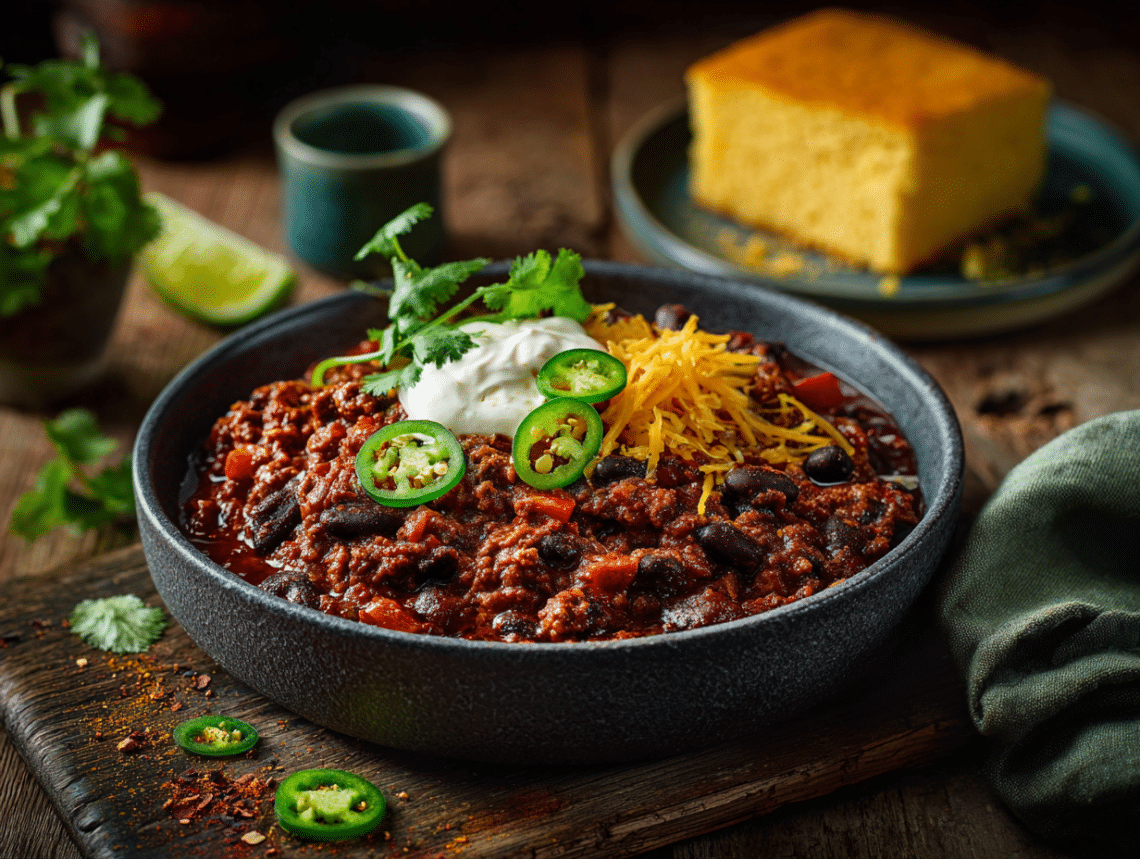
This is a pressure cooker chilli con carne that goes from raw ingredients to the table in under an hour — including the time it takes to come to pressure. The real reason to make it on a Sunday, though, is that a pot of this in the fridge means dinner is already done on Monday and Tuesday. It reheats in minutes and tastes better each day.
Before you start
The one step that matters most here is deglazing before you seal the lid. After browning the beef, there will be browned bits stuck to the bottom of the pot. Scrape them up thoroughly when you add the broth — if you don’t, the Instant Pot may trigger a burn warning and stop heating mid-cook. A wooden spoon and 30 seconds of scraping is all it takes. The second thing worth knowing: the pot needs 8–10 minutes to build pressure before the 20-minute countdown even starts, so factor that into your timing. The total active cook time is closer to 35–40 minutes, not 20.
Mistakes to avoid
- Skipping the fat drain after browning. Ground beef at 80/20 can release a lot of grease. If you leave it all in, the finished chilli will be oily on top and heavy. Tilt the pot and spoon off the excess before adding the remaining ingredients.
- Adding the beans too early and skipping the rinse. The recipe card covers rinsing, but the reason it matters in a pressure cooker specifically is that the starchy bean liquid has nowhere to evaporate — it stays in the pot and makes the base cloudy and slightly gummy.
- Opening the lid immediately after pressure cooking. A quick release right away can make the beef tighten up and turn grainy. The 10-minute natural release in the instructions isn’t optional — it lets the meat relax and the liquid settle.
- Under-seasoning before tasting. Pressure cooking mutes salt slightly compared to stovetop simmering. Always taste after opening the lid, not before sealing it.
- Filling the pot past the halfway line. If you’re doubling the batch, check your pot’s max fill line. A 6-quart Instant Pot should not be filled beyond two-thirds for liquid-heavy recipes — chilli expands as it heats.
Ingredient notes
- Chilli paste (sambal oelek vs. harissa): These aren’t interchangeable in flavour, just in heat level. Sambal oelek is clean and sharp; harissa brings smokiness and a slight earthiness. Either works, but pick based on what else is in your fridge — harissa pairs especially well if you’re using a beef-pork blend.
- Jalapeño powder: Less common than fresh jalapeño but worth keeping in the spice drawer. It distributes heat evenly through the chilli rather than concentrating it in one bite. If you can’t find it, finely diced pickled jalapeño is the closest swap — skip the fresh jalapeño in the recipe if you go that route, or the heat will stack up fast.
- Brown sugar: One tablespoon sounds odd in a savoury dish, but it rounds out the acidity from the tomato paste and tomato sauce. Don’t skip it — and skip the garnish of sour cream if you’re packing portions for the week, it doesn’t reheat well and isn’t worth the extra dish.
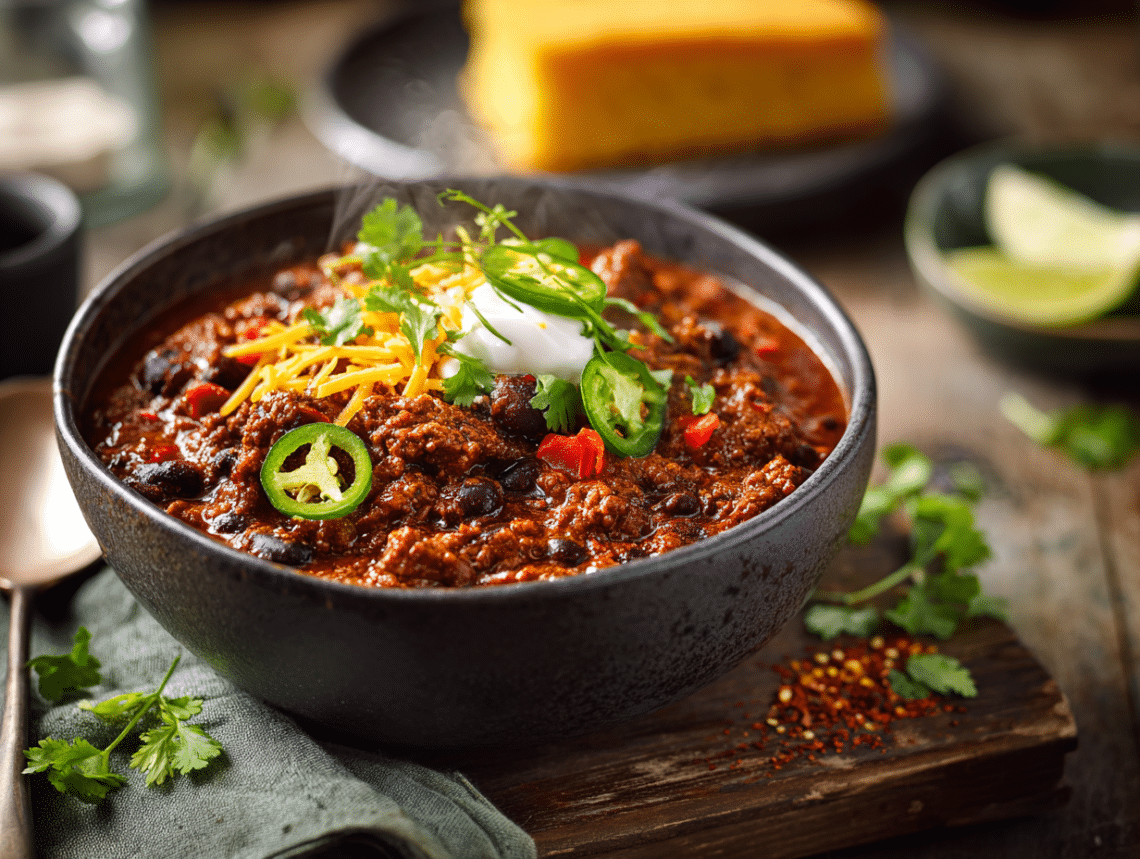
Instant Pot Chilli Con Carne

Equipment
- 6-quart Instant Pot or electric pressure cooker
- Wooden spoon or silicone spatula
- Cutting board
- Sharp chef’s knife
- Can opener
- Measuring cups and spoons
Ingredients
- 1 tablespoon extra virgin olive oil
- 1 large red onion chopped
- 3 cloves garlic minced
- 1 large red bell pepper seeded and diced
- 1 large jalapeno pepper seeded and diced
- 1⅓ lb ground beef
- 1 cup beef broth
- 2 tablespoons tomato paste
- 1 tablespoon brown sugar
- ½ cup tomato sauce
- 15 oz. canned black beans drained and rinsed
- 1 teaspoon jalapeño powder or finely diced pickled jalapeño
- 1 teaspoon chilli paste such as sambal oelek or harissa
- ½ teaspoon garlic powder
- 1 teaspoon paprika powder
- ½ teaspoon dried thyme
- ½ teaspoon cayenne pepper
- ½ teaspoon salt adjust after cooking
Instructions
- Set the Instant Pot to Sauté mode and allow it to heat for 1 minute. Add the extra virgin olive oil and chopped red onion. Cook, stirring occasionally, for 3-4 minutes until the onion is lightly golden.
- Add in garlic and cook for an additional minute.
- Add the ground beef, breaking it apart with a wooden spoon. Cook for 5-6 minutes, stirring occasionally, until browned with no pink remaining. Drain any excess fat if needed.
- Add tomato paste and sauce, and cook for 2 minutes.
- Add the beef broth, black beans, brown sugar, jalapeño powder, chilli paste, garlic powder, paprika, dried thyme, cayenne pepper, and salt. Stir well to combine, scraping any browned bits from the bottom of the pot. Secure the lid and set the steam release valve to Sealing.
- Select Pressure Cook (or Manual) on High Pressure and set the time to 20 minutes. The pot will take approximately 8-10 minutes to come to pressure before the countdown begins.
- When the cooking time is complete, allow a natural pressure release for 10 minutes, then carefully turn the steam release valve to Venting to release any remaining pressure. Once the float valve drops, remove the lid. Stir the chilli and taste for seasoning. Serve hot with your favourite toppings.
Notes
- Storage: Refrigerate in an airtight container for up to 4 days. Freeze in portions for up to 3 months — thaw overnight in the fridge before reheating.
- Make-ahead: This chilli tastes even better the next day as the spices meld. Make a double batch on Sunday for easy weeknight meals.
- Substitutions: Swap ground beef for ground turkey or a 50/50 beef-pork blend. Use kidney beans instead of black beans. Replace jalapeño with green bell pepper for a mild version.
- For thicker chilli, remove the lid after cooking and simmer on Sauté mode for 5-10 minutes to reduce the liquid.
- Drain and rinse canned black beans before adding — this removes excess sodium and prevents a murky liquid.
Nutrition
Common questions
Can I make this chilli the night before?
Yes — and it’s actually better the next day. Store it in an airtight container in the fridge overnight and the spices will have more time to meld into the broth. Reheat on the stovetop over medium-low heat with a splash of broth if it’s thickened up.
Do I need to brown the beef first, or can I just throw everything in?
Browning is worth doing. It builds a layer of flavour in the pot that pressure cooking alone won’t create, and it gives you the chance to drain excess fat before sealing the lid. Skipping it produces a noticeably flatter-tasting result.
My Instant Pot is showing a burn warning — what do I do?
Cancel the cook cycle, release the pressure carefully, and open the lid. Scrape any stuck bits off the bottom, add a small splash of broth, stir, then reseal and restart. This almost always happens because the bottom wasn’t fully deglazed after browning the beef.
Can I freeze this in individual portions?
Yes, it freezes very well for up to 3 months. Let the chilli cool completely before portioning into freezer-safe containers or zip-lock bags — lay the bags flat to save space. Thaw overnight in the fridge and reheat on the stovetop or in the microwave.
What to cook next
- Smoky Homemade Chili Seasoning Blend
- Sizzling Street-Style Grilled Chicken Tacos
- Handmade Flour Tortillas Fresh from Your Home Kitchen
- Classic Mexican Guacamole: Fresh, Simple, and Delicious