





































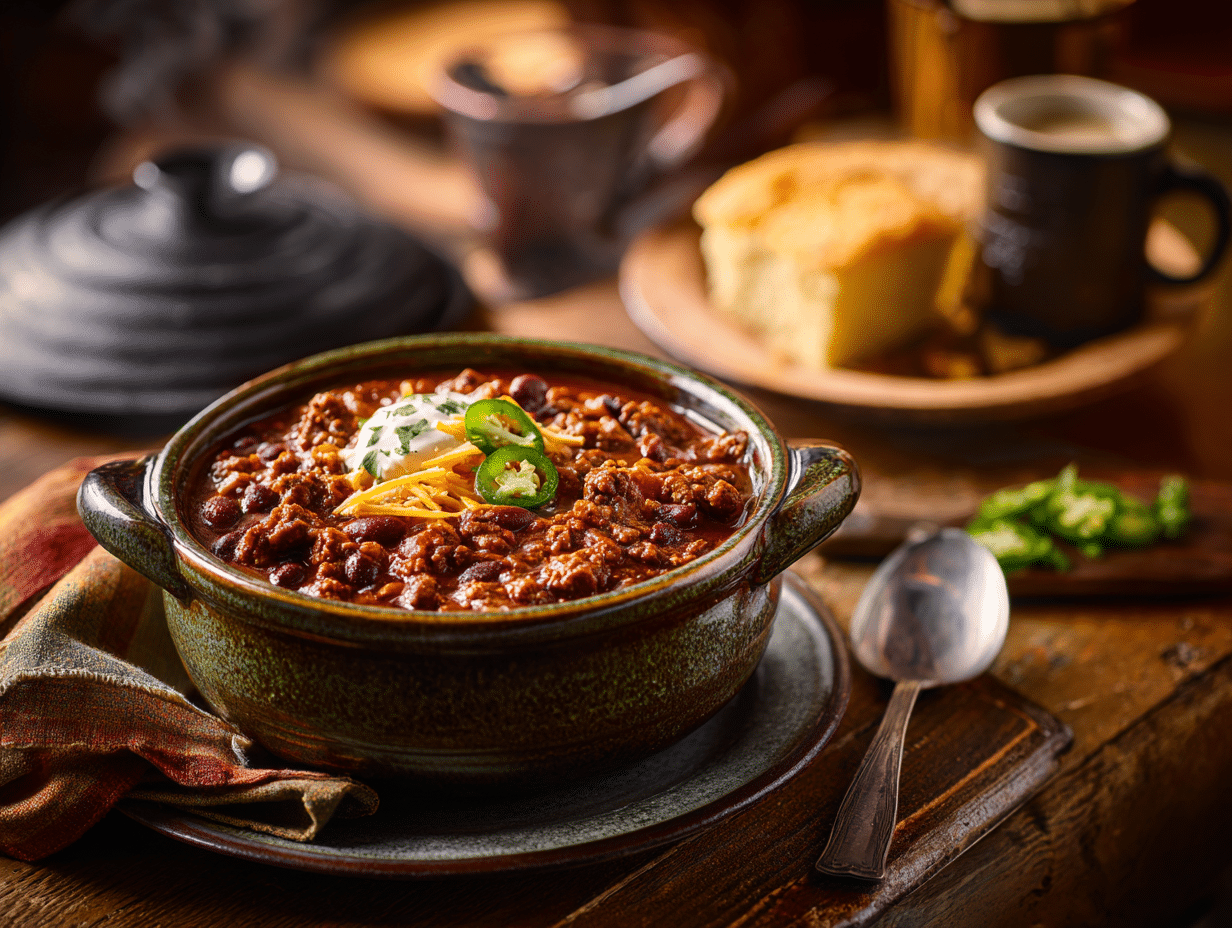
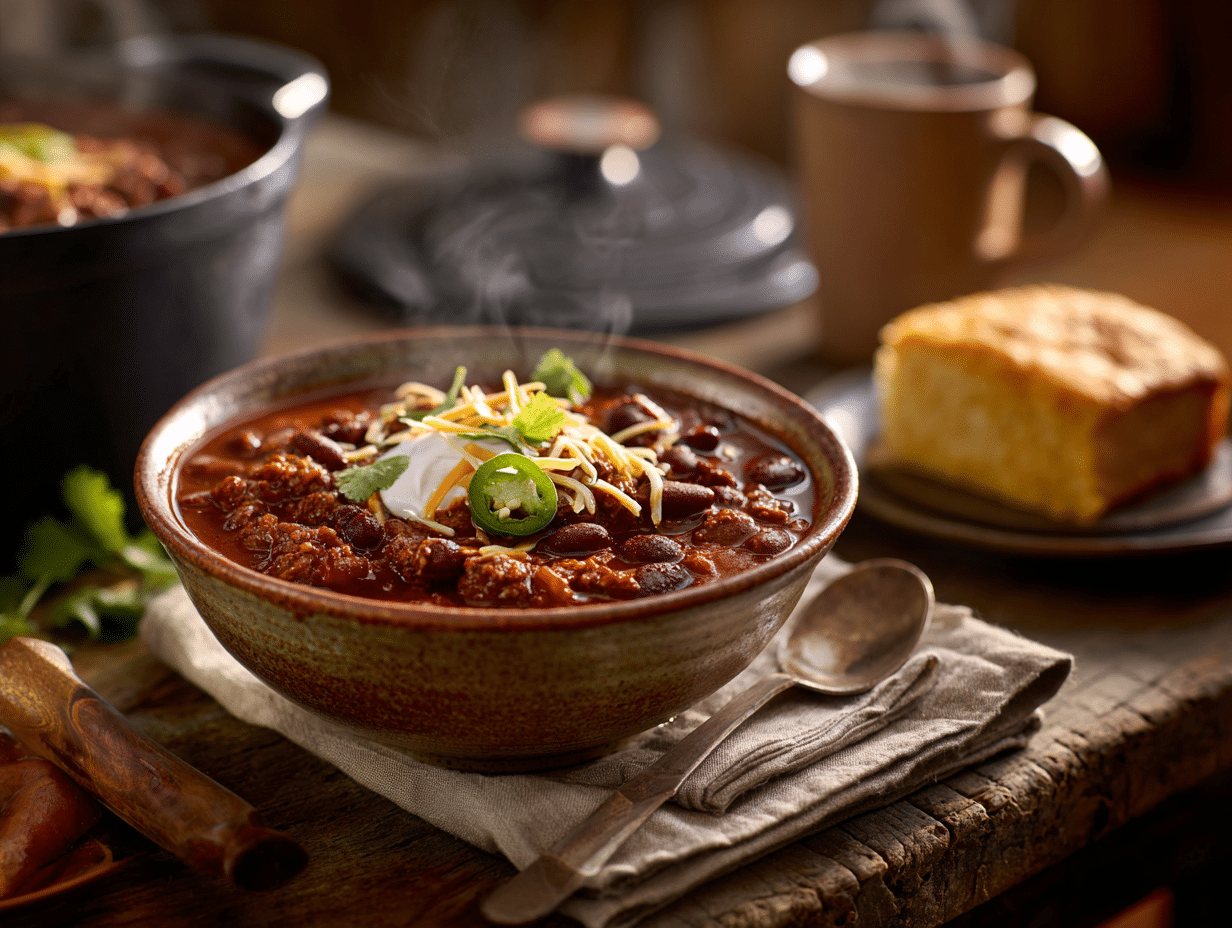
This is a one-pot beef and bean chili built around two pounds of ground beef, kidney and black beans, fire-roasted tomatoes, and a short list of spices that punch well above their weight. It takes about 20 minutes of hands-on work and 90 minutes of mostly unattended simmering — which makes it one of the better options when you need dinner ready for a crowd or want something waiting in the fridge for the week ahead. The flavor genuinely improves overnight, so cooking it a day early is not a compromise; it’s the move.
Why this recipe works
Two things make this chili worth the 90-minute simmer. First, the spices — chili powder, cumin, smoked paprika — go into the pot before the liquid, cooked directly in the beef fat with the tomato paste for two full minutes. That short step blooms the spices and drives off their raw edge in a way that stirring them into broth never will. Second, the lid stays slightly ajar during the long simmer. Fully covered, the chili steams and stays thin; fully open, it reduces too fast and can scorch. The gap lets just enough moisture escape to thicken the sauce without drying it out, so you end up with a chili that coats the back of a spoon rather than sloshing around the bowl.
About the ingredients
- Chili powder: Ancho or New Mexican chili powder is noticeably earthier and less sharp than generic supermarket blends. Worth seeking out, but standard chili powder works fine — just taste and adjust.
- Fire-roasted diced tomatoes: The charring adds a subtle smokiness that plain diced tomatoes skip. If you can only find regular diced tomatoes, add an extra quarter teaspoon of smoked paprika to compensate.
- 80/20 ground beef: The fat content matters here. Leaner beef dries out over a long simmer. If you swap in ground turkey, add a tablespoon of olive oil to the pot with it.
- Kidney and black beans: They behave differently — kidney beans hold their shape; black beans soften more. That contrast in texture is worth keeping. Skip the garnish toppings like sour cream and shredded cheese if you’re packing this for lunches — they don’t travel well and the chili doesn’t need them.
Leftovers and make-ahead
This chili keeps in the fridge for up to five days in a sealed container, and the flavor on day two is noticeably better than day one — the spices settle and the whole thing tightens up. For longer storage, freeze it in individual portions for up to three months; wide-mouth mason jars or zip-lock freezer bags laid flat both work well. Reheat straight from the fridge in a saucepan over medium-low heat with a splash of beef broth or water to loosen it — it thickens considerably when cold. From frozen, thaw overnight in the fridge before reheating, or use the defrost setting on a microwave followed by two to three minutes on high, stirring halfway through. If you’re making this for a gathering, cook it the day before and refrigerate the whole pot; reheat covered on the stovetop over low heat, stirring occasionally, for about 15 minutes.
If something goes sideways
- Chili is too thin after the full simmer: Remove the lid entirely and raise the heat to medium for 10 to 15 minutes, stirring frequently. It will reduce quickly once uncovered.
- Chili tastes flat or one-dimensional: Add salt in small increments first — undersalting is the most common reason chili tastes dull. A teaspoon of apple cider vinegar or a squeeze of lime stirred in at the end can also sharpen the whole pot.
- Beef released a lot of liquid and won’t brown: This happens when the pan is overcrowded or the heat is too low. Drain off the excess liquid, push the beef to the edges, and let the bottom of the pot get hot again before continuing.
- Chili is too spicy to serve: Stir in a tablespoon of tomato paste and let it simmer for five more minutes — the sweetness dials back the heat without watering down the flavor. A dollop of sour cream in individual bowls also helps.
- Beans turned mushy: This usually means the heat was too high or they simmered too long. They’ll still taste fine but lose their texture. Next time, add the beans in the last 30 minutes rather than at the start of the simmer.
Smoky Beef and Bean Chili

Equipment
- Dutch oven or heavy-bottomed pot
- Wooden spoon
- Cutting board and chef's knife
- Measuring spoons and cups
Ingredients
- 2 tablespoons olive oil extra virgin preferred for flavor
- 1 large yellow onion diced
- 4 cloves garlic minced
- 2 pounds ground beef 80/20 lean-to-fat ratio recommended
- 2 tablespoons chili powder preferably ancho or New Mexican style
- 1 teaspoon ground cumin
- 1 teaspoon smoked paprika for depth and smokiness
- 1 teaspoon kosher salt plus more to taste
- ½ teaspoon black pepper freshly ground
- 1 tablespoon tomato paste adds richness
- 1 can diced fire-roasted tomatoes 14.5 ounces
- 2 cups beef broth low-sodium
- 1 can kidney beans 15 oz, rinsed and drained
- 1 can black beans 15 oz, rinsed and drained
Instructions
- Heat the olive oil in a large Dutch oven over medium heat (about 350°F / 175°C). Add the diced onion and cook, stirring occasionally, for 5-6 minutes until translucent and slightly golden at the edges.
- Add the minced garlic and sauté for 1 minute, just until fragrant.
- Increase heat slightly and add the ground beef. Brown for 8-10 minutes, breaking it apart with a spoon, until nicely seared and no pink remains.
- Stir in chili powder, cumin, smoked paprika, salt, pepper, and tomato paste. Cook for 2 minutes, toasting the spices and deepening the flavor.
- Pour in diced tomatoes and beef broth, scraping up any fond stuck to the bottom. Bring to a simmer.
- Add beans and reduce the heat to low. Cover with lid slightly ajar and simmer gently for 60 minutes, stirring occasionally, until thickened and luscious.
- Uncover and simmer 10–15 minutes longer if needed to reach desired consistency. Taste and adjust seasoning with salt and pepper before serving.
Notes
- For a spicier version, add 1 minced chipotle pepper in adobo with the spices. Fresh jalapeños or cayenne can also be added.
- Substitute ground turkey or plant-based meat to make it lighter or vegetarian.
- This chili tastes even better the next day—consider making it ahead for maximum flavor.
Nutrition
Frequently asked questions
Can I make this chili the day before serving?
Yes — and it’s actually better that way. The spices continue to meld as it sits, and the texture firms up nicely. Store it covered in the fridge and reheat on the stovetop over low heat with a small splash of broth to loosen it.
Can I use dried beans instead of canned?
You can, but cook them fully before adding them to the chili. Dried beans added raw to an acidic, tomato-based pot will never fully soften, no matter how long you simmer.
Do I need a Dutch oven, or will a regular pot work?
A heavy-bottomed pot works fine. The main thing you want is even heat distribution so the bottom doesn’t scorch during the long simmer — thin pots with hot spots are the real problem, not the shape.
How do I know when the chili is actually done?
It’s ready when it holds its shape briefly on a spoon before slowly spreading — not soupy, not paste-thick. If you’re unsure, give it another 10 minutes uncovered; it’s hard to overcook chili within a reasonable window.
More recipes to try
- Smoky Homemade Chili Seasoning Blend
- Handmade Flour Tortillas
- Classic Mexican Guacamole
- Smoky Oaxacan Chicken Enchiladas