










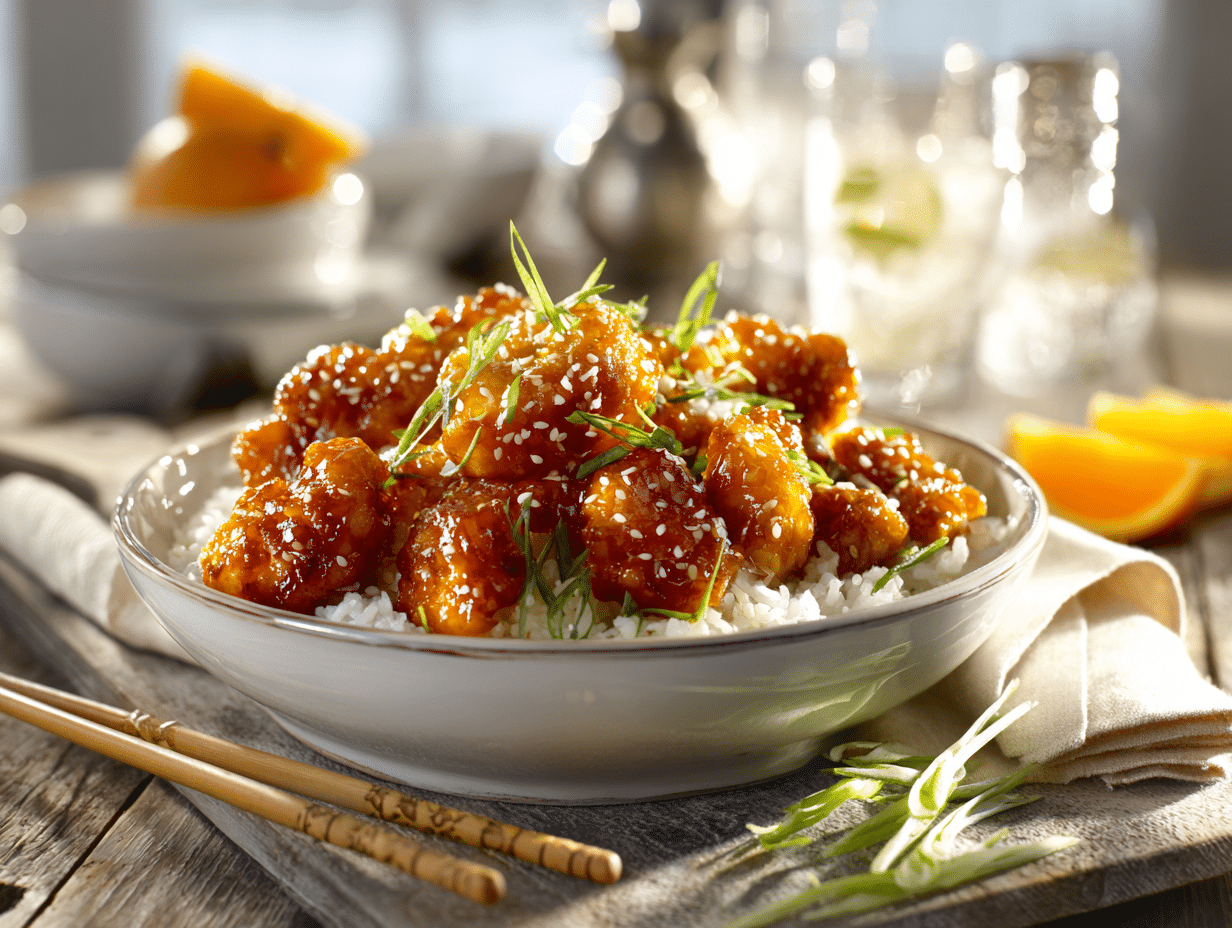
This orange chicken skips the takeout box and delivers crispy, saucy results from one skillet and one saucepan. The sauce is built from real orange juice and zest, so it tastes bright instead of sugary-artificial. If your family orders this regularly, making it at home costs a fraction of the price and takes about an hour.
Why this recipe works
Two things make this recipe reliable. First, the double-coat of cornstarch and flour — cornstarch is the key player here, creating a thin, rigid crust that holds up when the sauce hits it, rather than turning to mush. Flour alone would go soft fast. Second, the sauce uses a cornstarch slurry added after the liquid comes to a boil, not before. That order matters: adding the slurry to already-hot liquid activates the starch quickly and gives you a glossy, clingy glaze instead of a watery or gluey one. Get those two steps right and the rest is straightforward.
What can go wrong
- Oil temperature drops between batches. Cold chicken lowers the oil temp fast. Let the oil return to 350°F before adding the next batch — a thermometer is worth using here. Crowding the pan is the usual cause of pale, greasy chicken.
- The coating falls off during frying. This usually means the chicken pieces were wet before dredging. Pat them dry before dipping in egg. Also press the cornstarch-flour mixture firmly onto each piece rather than just tossing.
- The sauce seizes into a thick lump. This happens when the slurry hits liquid that isn’t hot enough, or when you add too much slurry at once. Stir the slurry right before pouring and add it gradually while the sauce is actively simmering.
- The orange flavor tastes flat. Bottled orange juice won’t cut it here — the zest is doing most of the citrus work, and bottled juice lacks the volatile oils that make the sauce taste fresh. Use fresh oranges. Skip the garnish of extra zest on top — not worth the extra dish.
- Chicken sits too long before serving and loses its crunch. Toss the chicken in sauce right before you plate it, not while it’s still draining on paper towels. Even five extra minutes in the sauce softens the crust noticeably.
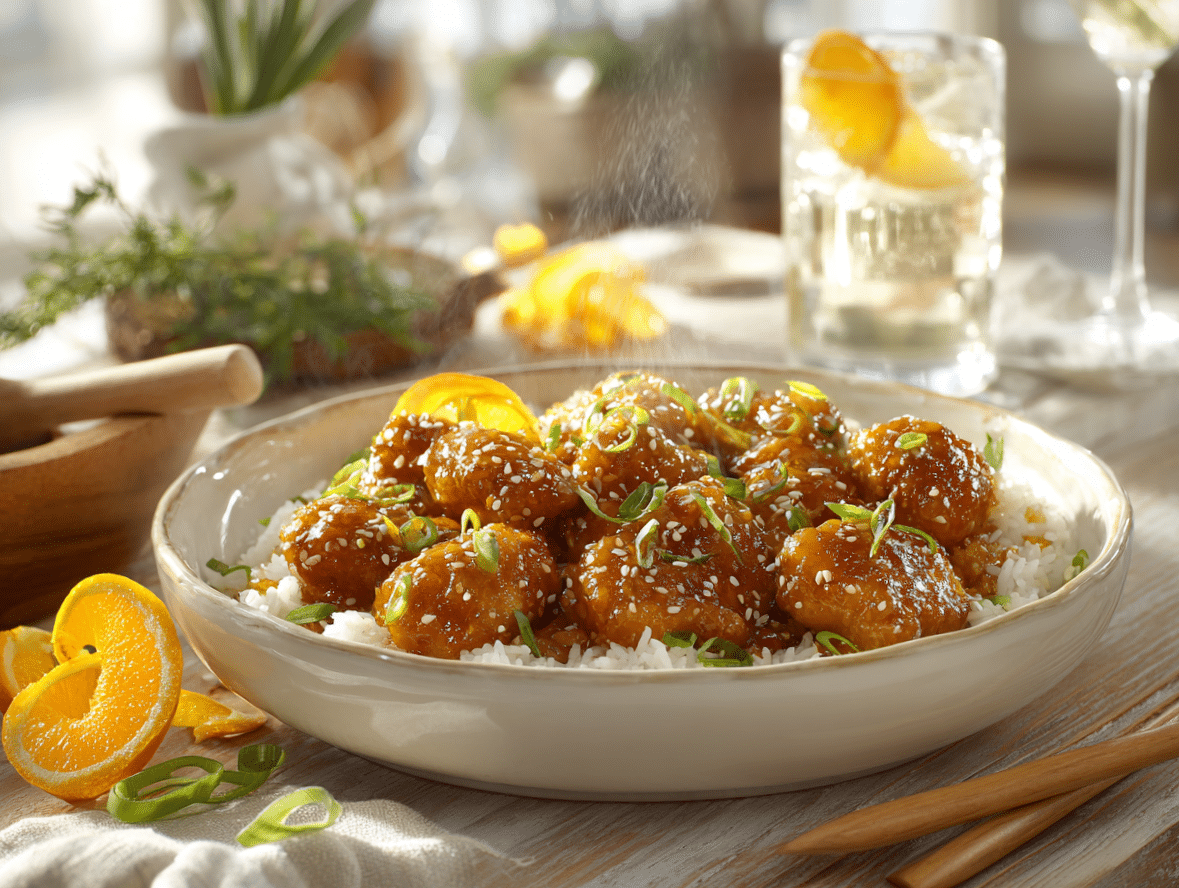
Crispy Orange Chicken

Equipment
- Large skillet or wok
- Mixing bowls
- Whisk
- Tongs
- Paper towels
- Deep-frying thermometer
Ingredients
For the Chicken:
- 1.5 lb boneless skinless chicken thighs cut into 1-inch bite-sized pieces
- 2 large eggs lightly beaten
- 1 cup cornstarch
- 0.5 cup all-purpose flour
- 1 tsp kosher salt
- 3 cups vegetable oil for deep frying
For the Orange Sauce:
- 1 cup freshly squeezed orange juice from about 3–4 oranges
- 1.5 tbsp orange zest preferably from organic oranges
- 2 tbsp soy sauce low sodium preferred
- 1.5 tbsp rice vinegar unseasoned
- 0.5 cup granulated sugar
- 2 cloves garlic minced
- 1 tbsp fresh ginger grated or finely minced
- 1 tbsp cornstarch mixed with 1 tbsp (15 ml) cold water to form a slurry
- 1 tbsp sesame oil optional, for finishing
Instructions
- In a large bowl, whisk together the cornstarch, flour, and salt. In a separate bowl, place the beaten eggs. Coat the chicken pieces by first dipping them into the egg, then dredging in the cornstarch-flour mixture, ensuring each piece is well coated.
- Heat the vegetable oil in a heavy skillet or wok over medium-high heat (350°F / 175°C). Fry the coated chicken pieces in batches for 3–4 minutes per side until golden brown and crispy. Transfer to a paper towel-lined plate to drain excess oil.
- To prepare the sauce, combine orange juice, orange zest, soy sauce, vinegar, sugar, garlic, and ginger in a saucepan over medium heat. Bring to a gentle boil while stirring.
- Once bubbling, stir in the cornstarch slurry and continue to simmer until the sauce thickens to a glossy glaze—about 2–3 minutes. Finish with sesame oil for added aroma (optional).
- Toss the fried chicken in the warm sauce until evenly coated. Use tongs or a slotted spoon to transfer to serving plates.
Notes
- For a spicier version, add 1–2 teaspoons of chili garlic sauce or red pepper flakes to the orange sauce.
- You can bake the chicken instead: coat with cornstarch mixture, place on parchment-lined tray, spray with oil, and bake at 425°F (220°C) for 20–25 minutes.
- To save time, the sauce can be made up to 2 days in advance and stored in the fridge.
Nutrition
Frequently asked questions
Can I use chicken breast instead of thighs?
Yes, but expect drier results. Chicken breast has less fat, so it can go tough if the oil is too hot or the pieces cook even a minute too long — thighs are more forgiving and stay juicy through the frying and saucing process.
Can I make this without deep frying?
Yes — arrange the coated pieces on a wire rack over a baking sheet, spray generously with oil, and bake at 425°F for about 20 minutes, flipping once halfway. The crust won’t be quite as crunchy as fried, but it holds up well enough once sauced.
Can I make the sauce ahead of time?
Yes, the sauce keeps in the fridge for up to three days in a sealed container. Reheat it gently in a small saucepan over low heat, stirring — it will have thickened in the fridge, so add a splash of water to loosen it back to a pourable consistency before tossing with freshly fried chicken.
If you liked this one
- Quick and Delicious Homemade Chinese Fried Rice
- Authentic Japanese Chicken Teriyaki
- Fresh Vegetable Spring Rolls
- Sizzling Street-Style Grilled Chicken Tacos