




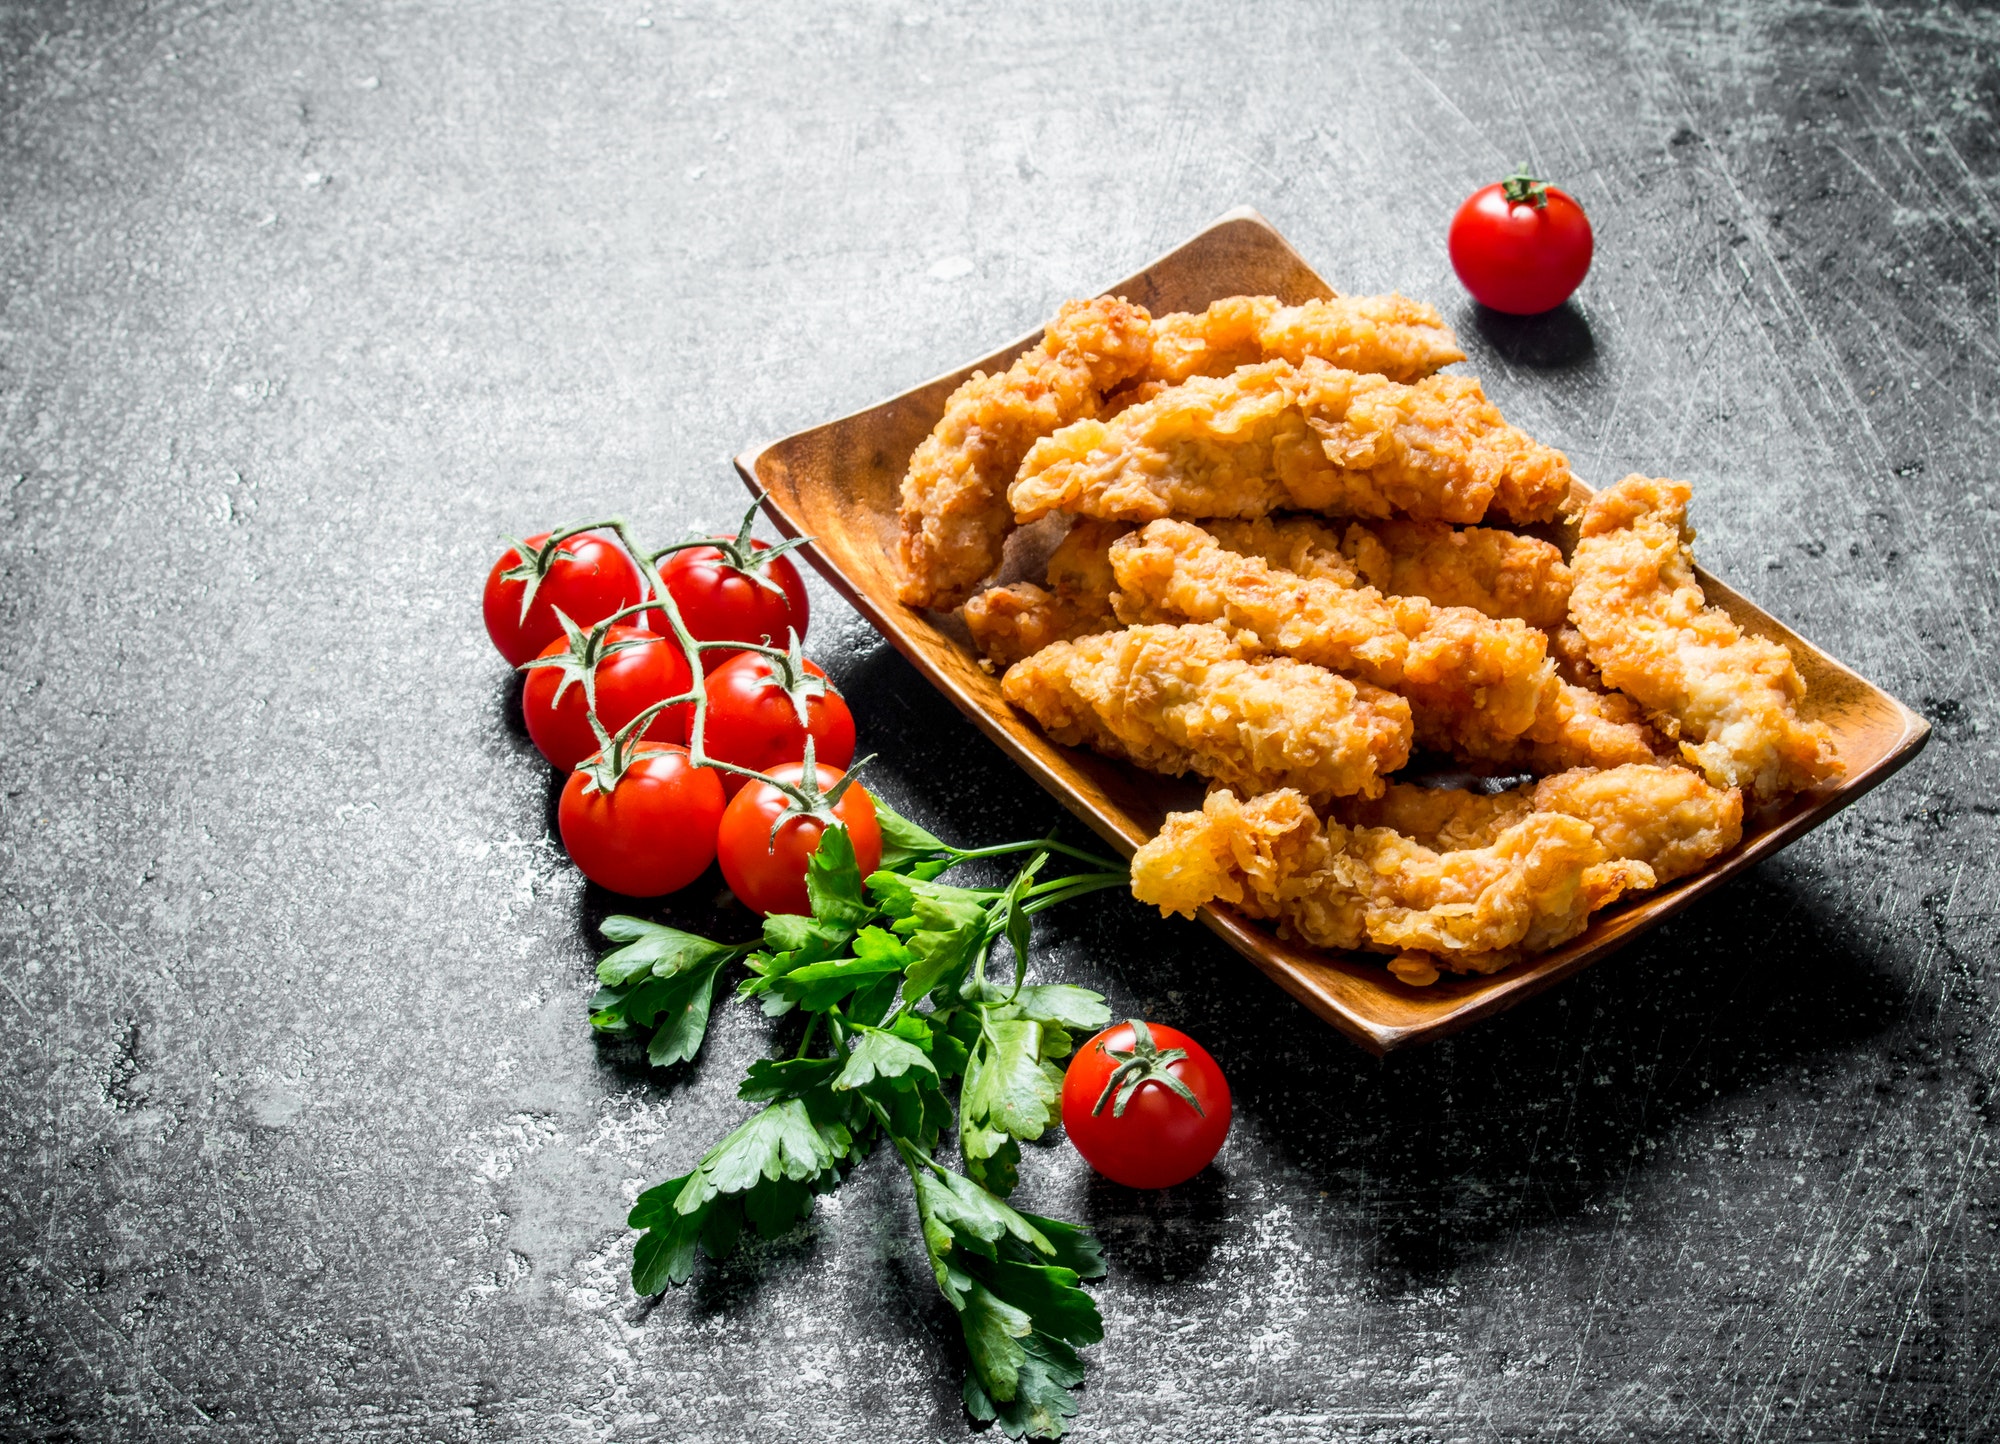
These baked chicken strips skip the standard three-bowl breading setup and use salad dressing — ranch, Italian, or Caesar — as both the marinade and the glue that holds the bread crumbs on. The result is a genuinely crispy coating with almost no prep mess. If you need to feed six or more people on a weeknight without much fuss, this is a reliable recipe to have in rotation.
What makes this version work
Two things actually matter here. First, the salad dressing does the job of both egg wash and marinade in one step — it has enough fat and emulsifiers to bind the crumbs firmly, and it adds flavor the whole way through the meat, not just on the surface. Second, starting the oven at 425°F and then dropping to 400°F partway through gives you a crust that sets and browns quickly without drying out the inside. Skip either of those and you get softer breading or drier chicken. Everything else in the recipe is flexible.
Substitutions that actually work
- Salad dressing: Ranch, Italian, and Caesar all work well. Avoid anything very sweet, like honey mustard dressing — the sugar scorches before the chicken cooks through.
- Italian-style bread crumbs: Plain bread crumbs work but taste noticeably flatter. If that’s what you have, add half a teaspoon of garlic powder and a teaspoon of dried Italian seasoning per cup of crumbs.
- Panko swap: Panko alone won’t stick as well without the seasoning, but a 50/50 mix of panko and Italian-style crumbs gives a slightly crunchier finish and holds together fine.
- Gluten-free: Gluten-free seasoned bread crumbs substitute directly — same quantity, same method.
If something goes sideways
- Crumbs sliding off during baking: The strips were probably too wet when you added the crumbs. Pat the chicken dry before tossing in the dressing, and press the crumbs on firmly rather than just tossing.
- Pale, soft coating: Your oven likely runs cool, or the pan was overcrowded. Leave at least an inch between strips — if they’re touching, they steam instead of bake. Use two pans if needed.
- Uneven cooking across a large batch: Rotate the pan halfway through and swap racks if you’re using two sheet pans at once. The bottom rack runs hotter and will overcook the strips on it if left in place.
- Coating burns before chicken is cooked through: Strips were cut too thick. Anything over 1.5 inches wide needs more time in the middle than the crust can handle at high heat — slice them thinner next time, or tent loosely with foil for the last few minutes.
- Chicken is cooked but coating isn’t crispy: Let the strips rest on the pan uncovered for two to three minutes after pulling from the oven. Covering them traps steam and softens the crust immediately.
Storage and reheating
Leftovers keep in an airtight container in the fridge for up to three days. To reheat, use a 400°F oven or an air fryer at 375°F for five to eight minutes — both bring the crust back close to its original texture. The microwave is fast but turns the coating soft and a little gummy, so skip the garnish and the microwave — neither is worth it. For longer storage, freeze the cooked strips in a single layer on a sheet pan until solid, then transfer to a freezer bag. They keep well for up to two months. Reheat straight from frozen in a 400°F oven for 15 to 18 minutes, flipping once halfway through.
Easy Homemade Chicken Strips
Equipment
- Parchment paper (for lining the baking sheet)
Ingredients
- 4-6 large chicken breasts boneless, skinless (about 2 lb / 900g total)
- ½ cup Italian dressing or ranch, or Caesar salad dressing
- 1 ½ cup Italian-style seasoned bread crumbs
- ½ teaspoon salt to taste
- ¼ teaspoon pepper to taste
Instructions
- Preheat oven to 425°F / 220°C (200°C fan-forced). Line a large rimmed baking sheet with parchment paper for easy cleanup and to prevent sticking.
- Pour ½ cup (120ml) of salad dressing into a large mixing bowl. If using more than 4 chicken breasts, add an extra 2 tablespoons of dressing to ensure even coating.
- Cut each chicken breast lengthwise into strips about 1 inch (2.5cm) wide. Season the strips with salt and pepper, then add them to the bowl with the dressing. Toss until every strip is evenly coated.
- Add 1½ cups (165g) of Italian-style bread crumbs to the bowl. Toss and press the crumbs onto each strip to create an even coating on all sides.
- Using a fork, transfer each coated strip to the prepared baking sheet, spacing them about 1 inch apart. Sprinkle any remaining bread crumbs from the bowl over the tops of the strips and press gently to adhere.
- Bake at 425°F / 220°C (200°C fan-forced) for 15 minutes. Reduce the oven temperature to 400°F / 200°C (180°C fan-forced) and bake for an additional 10-15 minutes, or until the strips are golden brown and reach an internal temperature of 165°F / 74°C. Thinner strips may be done sooner — check at the 10-minute mark.
- Remove from the oven and let rest for 2-3 minutes. Serve hot with honey dill sauce, barbecue sauce, or your favourite dipping sauce.
Nutrition
FAQ
Can I prep these ahead of time for a larger group?
Yes — you can coat the strips and refrigerate them on the lined baking sheet, covered, for up to 24 hours before baking. This actually helps the crumbs adhere better since the dressing has more time to set. Pull them out 10 minutes before they go in the oven so they’re not ice cold going in.
Can I double or triple this recipe?
You can scale it up as much as you need — the ratio of dressing to crumbs holds at any quantity. The only practical limit is oven space: bake in batches or across multiple racks rather than crowding the pans, or the strips won’t crisp up properly.
Does the dressing flavor come through strongly in the finished strips?
It’s noticeable but not overpowering — more of a background savory flavor than a distinct ranch or Italian taste. Caesar tends to be the mildest once baked; Italian dressing gives a slightly more herby result.
What to cook next
- Sizzling Chicken Quesadillas
- Elegant Chicken Marsala with Mushrooms
- Authentic Japanese Chicken Teriyaki
- Sweet and Tangy Grape Chicken Salad


