

















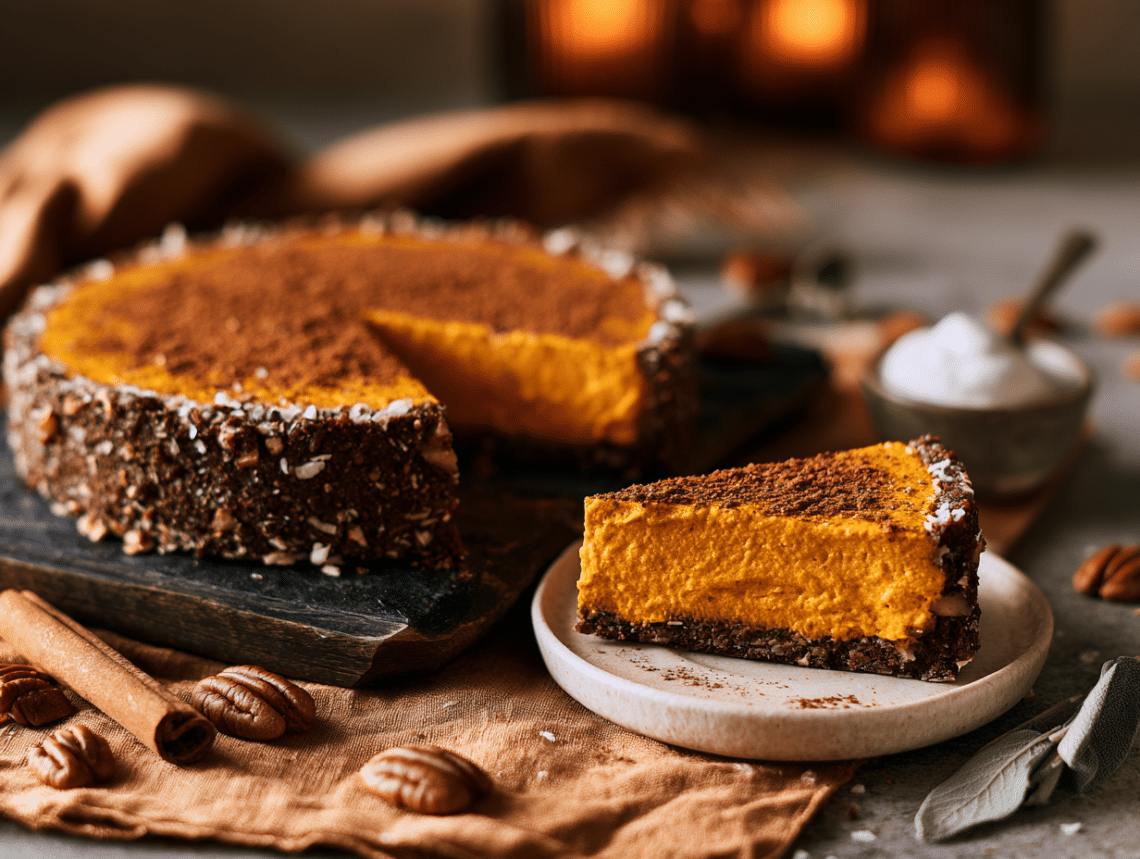
This pie has a pressed nut-and-date crust and a blended cashew-pumpkin filling. No oven, no eggs, no pastry work. The honest reason to make it: you can build the whole thing days ahead and pull it straight from the freezer when you need it.
The short version of why this works
Two things carry this recipe. First, soaking the cashews in boiling water for a full hour before blending is non-negotiable — it’s what turns a grainy, dense filling into something genuinely smooth. Second, the crust needs to be pressed firmly and evenly, not just scattered across the pan. A loose crust won’t hold a clean slice. Press it as though you’re packing it down for good, because you are — it goes straight into the freezer and sets solid. Everything else is just blending and waiting.
If something goes sideways
- The filling has visible lumps after blending: The cashews weren’t soft enough. Blend for another full minute, scraping the sides. If it’s still grainy, add one extra tablespoon of almond milk and keep going — a high-speed blender will eventually get there.
- The crust crumbles when you try to slice it: It wasn’t pressed firmly enough before freezing, or it didn’t freeze long enough. Let the pie freeze the full 5 hours minimum — overnight is more reliable. When slicing, use a sharp knife warmed briefly under hot water and wiped dry.
- The filling won’t set firm in the center: Your freezer may run warm, or the pie was placed near the door. Move it to the back of the freezer shelf and give it another 2 hours. A pie that’s been in overnight almost never has this problem — skip the garnish before freezing, not worth the extra dish.
- The crust sticks to the pan base: The cooking spray wasn’t enough, or you skipped lining the base. If a slice tears on the way out, slide a thin offset spatula or butter knife underneath before lifting — it releases cleanly once it’s fully frozen.
- The pie is icy rather than creamy when served: It came straight from the freezer to the plate. The 20-minute rest at room temperature isn’t optional — it’s what brings the texture from frozen-solid to sliceable and smooth. In a warm kitchen, 15 minutes is usually enough.
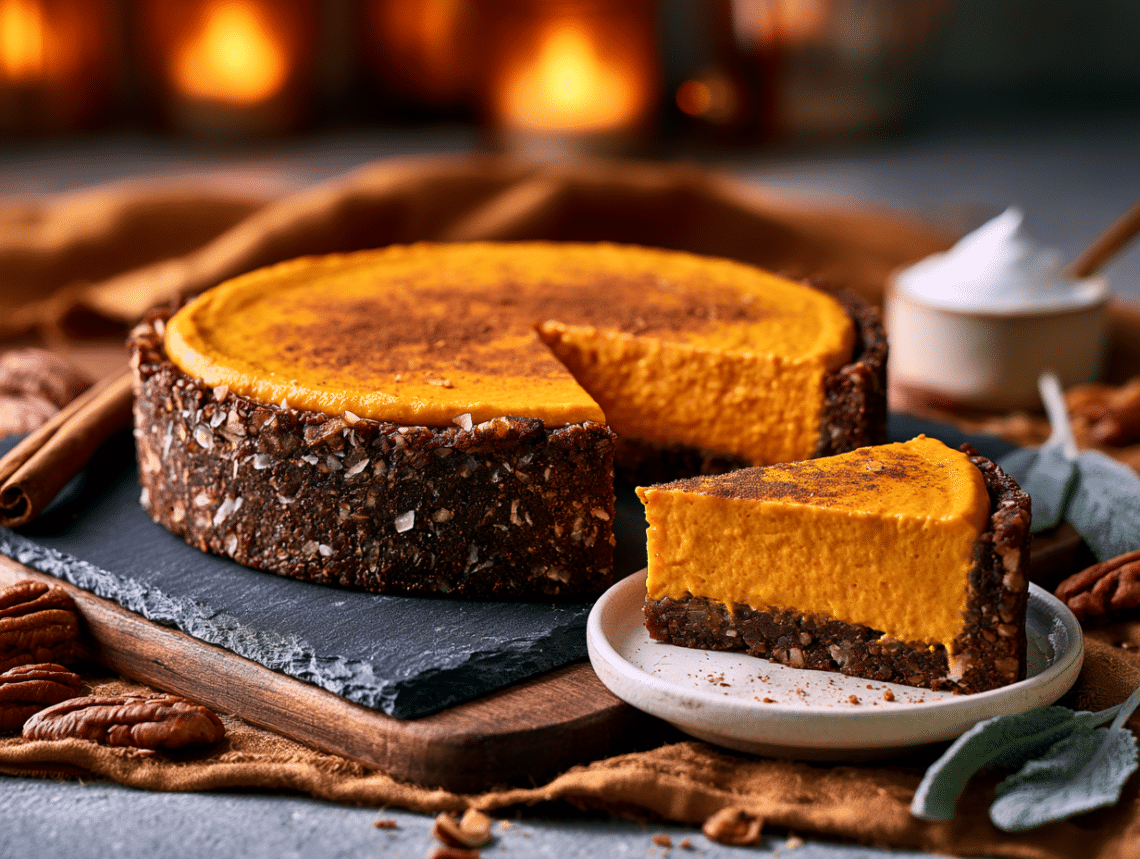
No-Bake Vegan Pumpkin Pie (Raw & Easy)

Equipment
- 9-inch (23cm) springform pan
- High-speed blender (such as a Vitamix or Blendtec)
- Offset spatula or rubber spatula
- Large mixing bowl
- Measuring cups and spoons
- Parchment paper (optional, for lining the pan base)
Ingredients
For The Crust
- 1 cup Medjool dates pitted and roughly chopped, about 10–12 dates
- 1 cup raw almonds
- 1 cup raw walnuts
- ½ cup raw pecans
- ½ cup unsweetened shredded coconut
- 1 tablespoon pure maple syrup
- 1 tablespoon vanilla almond milk
- 1 teaspoon pumpkin pie spice
- ¼ teaspoon ground nutmeg
- 1 pinch coarse sea salt
For The Filling
- 2 cups raw cashews soaked in boiling water for 1 hour, then drained
- 2 cans organic pumpkin purée 15 oz / 425 g each, about 3½ cups total
- ¼ cup pure maple syrup
- 1 ¼ cups vanilla almond milk
- 2 tablespoons coconut oil melted and cooled slightly
- 1 tablespoon pumpkin pie spice
- 1 pinch coarse sea salt
Additional
- Light coating cooking spray for greasing the pan
Instructions
- Get out a 9-inch (23cm) springform pan and coat it with cooking spray.
- Prep the crust first. Add the dates, almonds, walnuts, pecans, shredded coconut, maple syrup, almond milk, pumpkin pie spice, nutmeg, and sea salt to a high-speed blender. Pulse in short bursts, scraping down the sides as needed, until the mixture is coarsely ground and sticks together when pressed between your fingers — about 1–2 minutes. Do not over-blend; you want some texture. Pour the crust mixture into the prepared springform pan and, using clean hands, press it firmly and evenly across the bottom to create a compact crust layer about ¼-inch thick. Place in the freezer while you prepare the filling.
- Drain the soaked cashews and add them to a clean high-speed blender along with the pumpkin purée, maple syrup, almond milk, melted coconut oil, pumpkin pie spice, and sea salt. Blend on high for 2–3 minutes, stopping to scrape down the sides once or twice, until the filling is completely smooth and creamy with no visible cashew pieces.
- Pour the filling on top of the crust and smooth the top with a spatula. Sprinkle the top with more pumpkin pie spice for a pretty look.
- Place the pie in the freezer for at least 5 hours, or ideally overnight, until the filling is completely firm throughout. The pie can be frozen for up to 2 weeks.
- When you are ready to serve the pie, allow it to sit out at room temperature for about 20 minutes and then slice and serve cold!
Notes
- Storage: Keep the pie in the freezer, tightly wrapped in cling film or in an airtight container, for up to 2 weeks. In the fridge, slices will keep for 3–4 days but will soften over time.
- Make-ahead: This pie is ideal for making 1–3 days ahead — the flavours deepen and the texture firms up beautifully overnight in the freezer.
- Substitution — nuts: Swap the walnuts and pecans for extra almonds or use macadamia nuts for an even creamier crust. For a nut-free version, substitute sunflower seeds for the crust nuts and use soaked sunflower seeds in place of cashews in the filling.
- Substitution — almond milk: Any plant-based milk works here — oat milk, coconut milk, or soy milk are all excellent.
- Pro tip: Soak the cashews in boiling water for at least 1 hour (or in cold water for 4–6 hours) before blending. This is the single most important step for achieving a truly silky, lump-free filling.
Nutrition
FAQ
Can I make this pie more than one day ahead?
Yes — this pie actually holds well for up to two weeks in the freezer. Wrap it tightly in cling film once fully frozen, and the texture and flavor stay consistent. Making it two or three days ahead is genuinely the easiest approach for a holiday meal.
Do I need a high-speed blender, or will a regular blender work?
A high-speed blender like a Vitamix or Blendtec gives the smoothest result. A standard blender can work if the cashews are very well soaked, but you’ll need to blend longer and scrape down the sides more often — and the filling may be slightly less smooth.
Can I use canned coconut milk instead of almond milk?
Full-fat canned coconut milk works well in the filling and makes it a little richer. Use the same quantity the recipe calls for, but shake the can well before opening so the fat and liquid are combined.
More recipes to try
- Warm and Comforting Classic Apple Crumble
- Homemade Classic Cranberry Sauce Perfect for Holiday Meals
- Classic European Vanilla Rice Pudding
- Slow-Cooked Spiced Apple Butter